
As an organisation admin, you can create and manage your event using MNM Event. You can also create online, repetitive, and fundraiser events. In this article, we will focus on simple events to avoid confusion.
For more detailed information you can check here: "Create/Update Events"
Note: You can review the Event Types article to examine the event types and which ones it can refer to.
Instructions
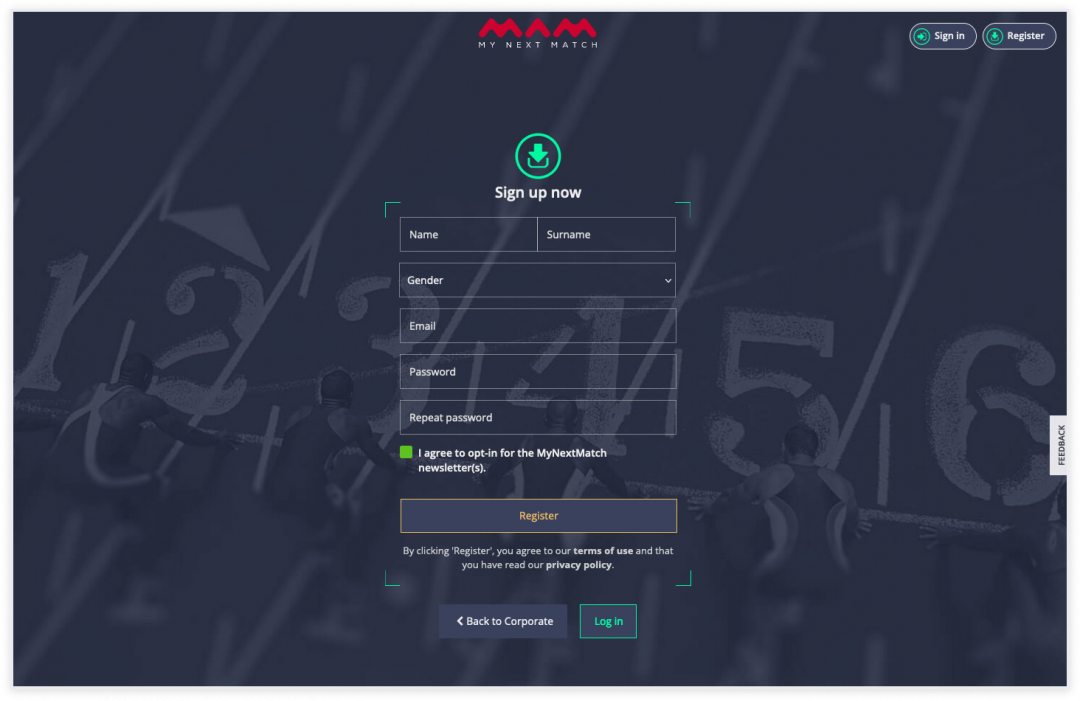
1. First, go to My Next Match Event page.

2. If you do not have an account, you can create one by clicking register. If you have an account, continue through login.
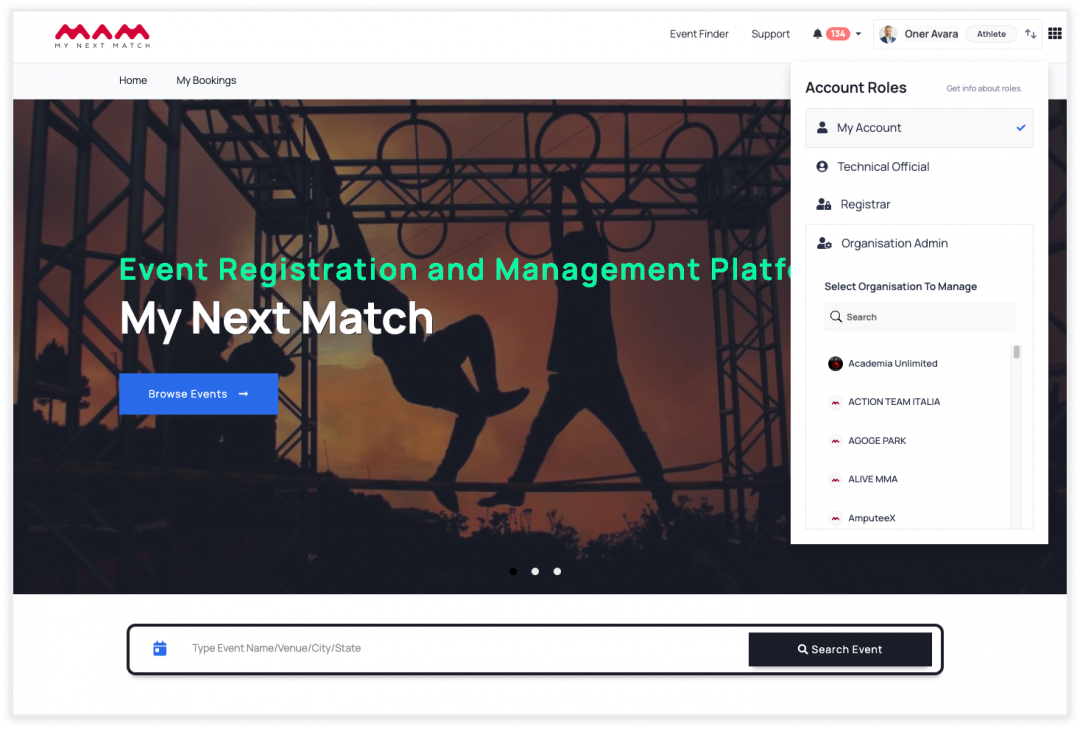
3. For now, only organisation admins can create events. If you have an organisation, switch to the organisation admin role from the dropdown menu in the top right.
 Note
Note
If you are an official of a federation and do not have an organization, schedule a demo tour.

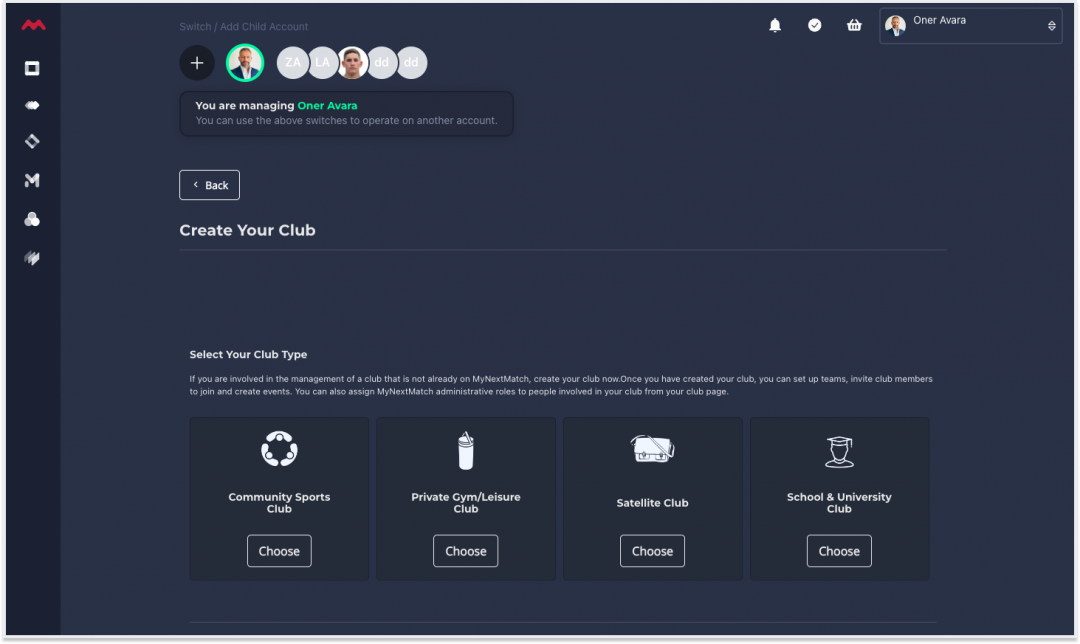
4. If you are not managing any organisation, you can click on the Create Organisation button. On this page, you will see the steps to create a club. You can fill out this form and create your own organisation.
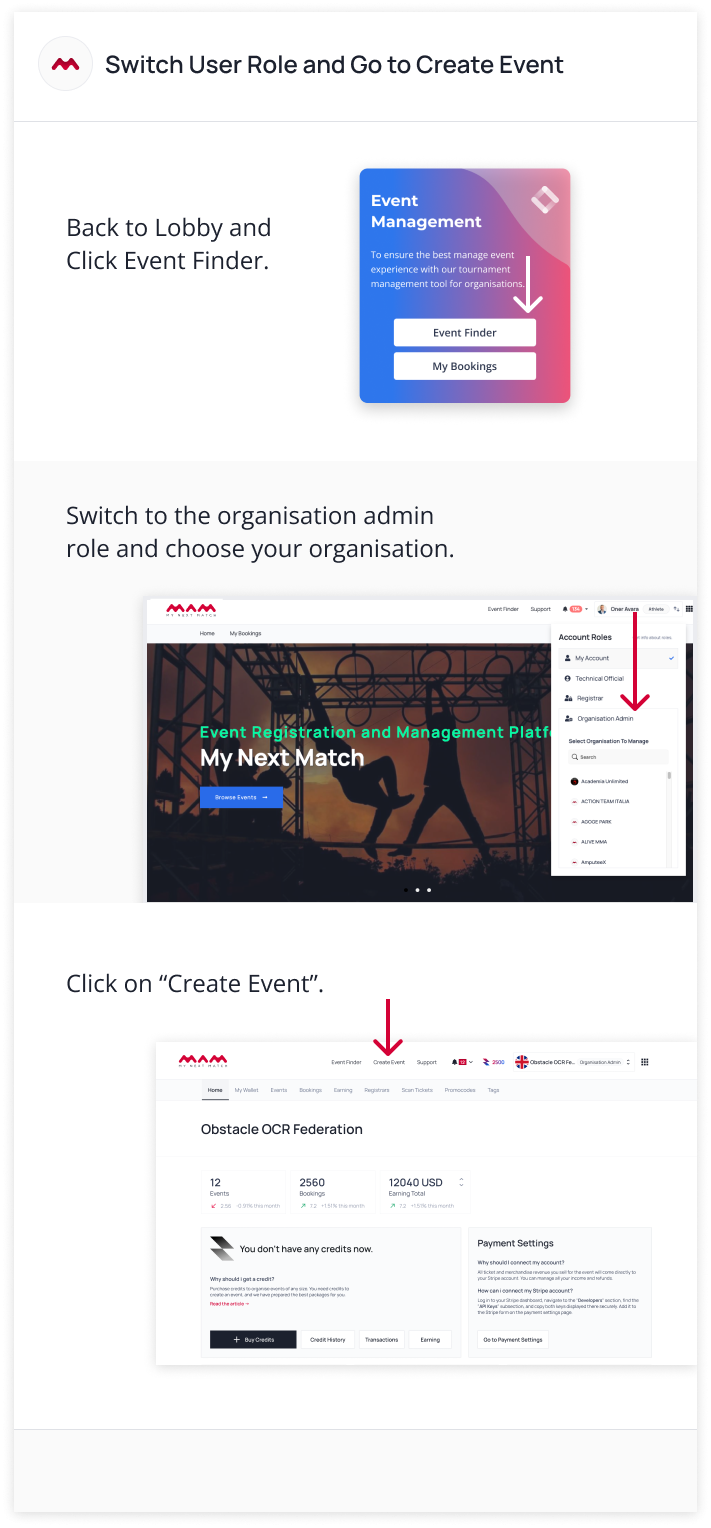
5. Then go back to the lobby from the top right menu and click on "Event Finder". While there, switch to the organisation admin role from the dropdown menu in the top right and select your organisation. Now, you are managing this account. Click on the "Create Event".
Note
A simple event refers to single- or multiple-day events. Event creation consists of 12 steps.
There are specific and customisable settings for a race event.
6b. Open the Ranking tab
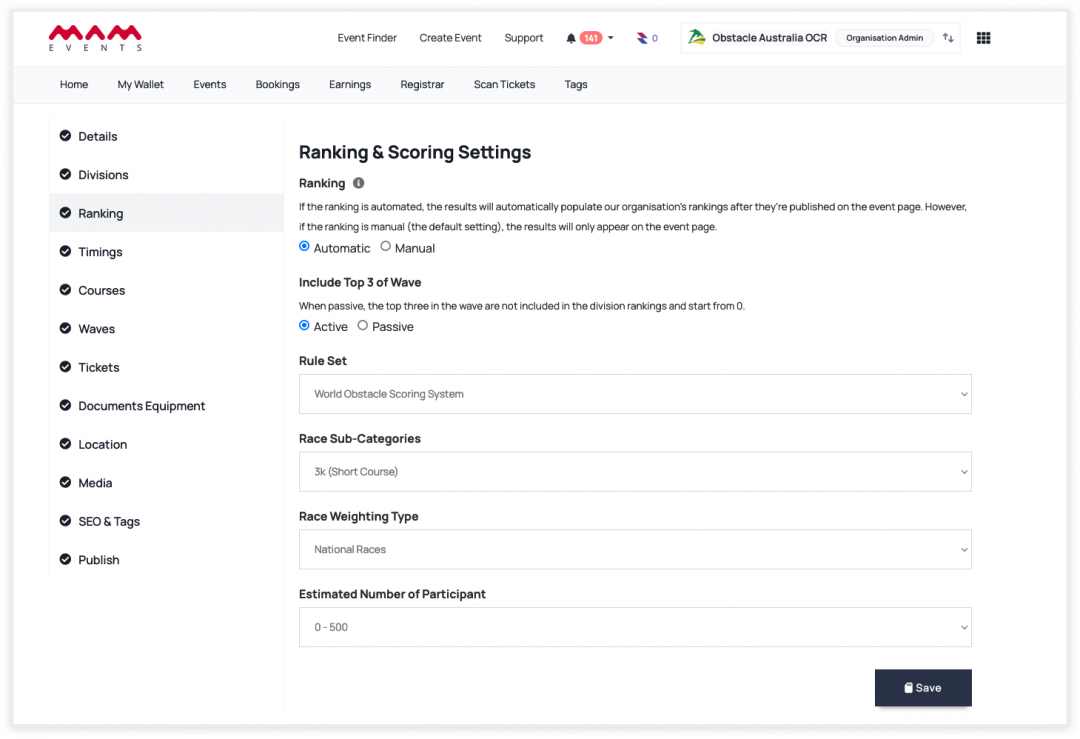
Update Ranking status.
As an organisation, you can generate a general ranking based on the scores received by athletes participating in your events.
If the ranking is automated, the results will automatically populate our organisation’s rankings after they’re published on the event page. However, if the ranking is manual (the default setting), the results will only appear on the event page. In such cases, you can manually update the organisation rankings if necessary.
- If your organisation is in the International Federation, this affects International Ranking.
- If your organisation is a National Federation, this affects National Ranking.
- If your organisation is a club, you will not view this parameter on the settings page.
For the Include Top 3 of Wave option, when passive the top three in the wave are not included in the division rankings and start from 0.

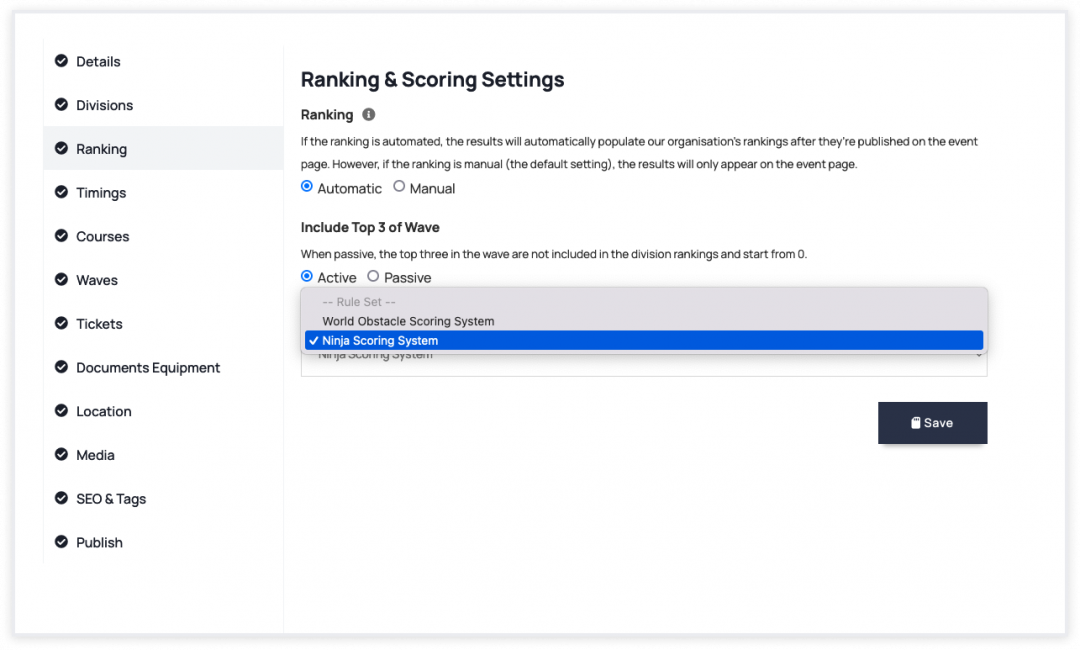
For the rule set, select Ninja Scoring System or World Obstacle Scoring System.
6c. Let's continue with Courses.
If you want to have courses in your race event, click "Add New Course", enter a course name, select Time Limit Status, set a time and click Save.

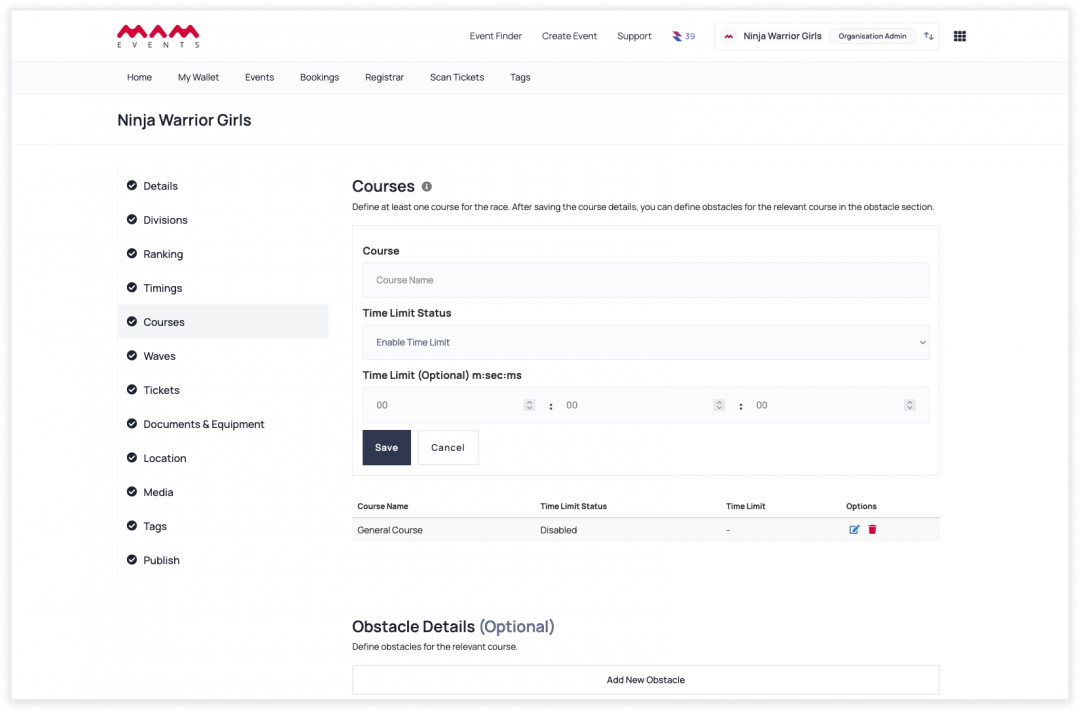
- Enter the course name,
- Choose Time Limit Status: Enabled/Disabled
- Set a Time Limit (it is mandatory if Time Limit Status: Enabled)
If you want to add obstacles to your race event, click 'Add New Obstacle,' set the obstacle details, and then click Save.
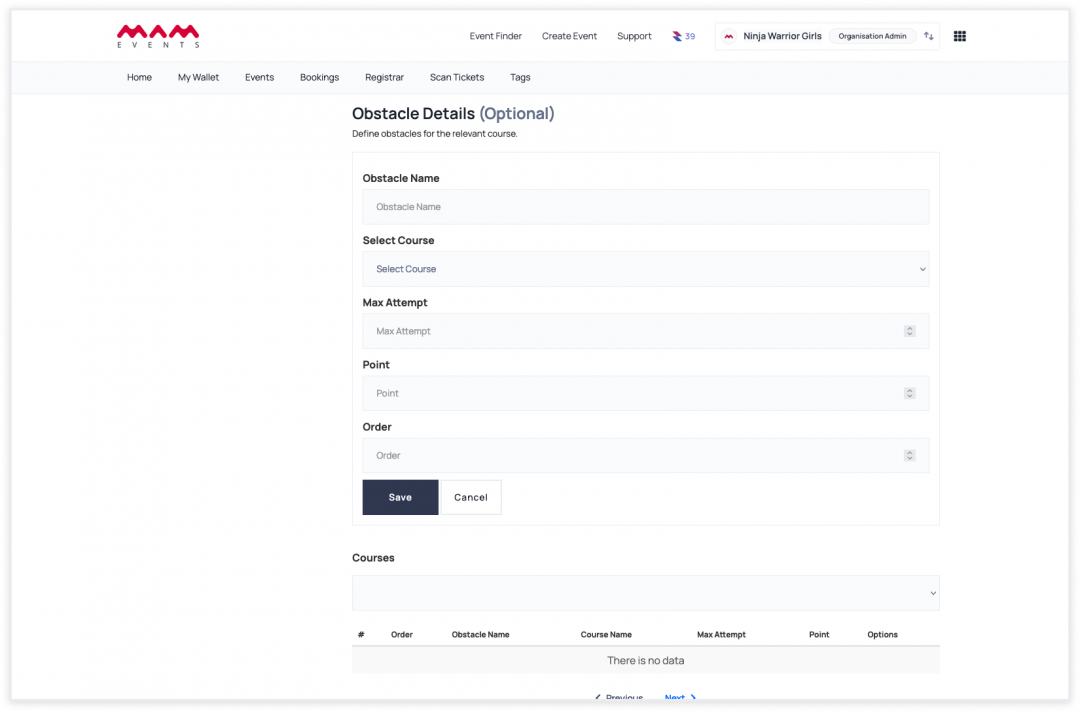
- Enter an Obstacle Name,
- Select a Course,
- Set the number of Max Attempts,
- Select how many points the obstacle is worth,
- Select the order in which the obstacles will be listed (starting from 1) (You cannot have the same order number for multiple obstacles).
6d. Let's continue with Waves.

- Enter a Wave Name.
- Select the Course.
- You can enable the final stage if you want this wave to be a final run (useful when differentiating qualifiers from finals).
Important Note: If you select the Final Stage, the scores obtained in this wave will affect the overall ranking of the athletes.
Once you're done, click Save to create the wave. Below is an example of two waves, one with the final stage passive, and one with the final stage active: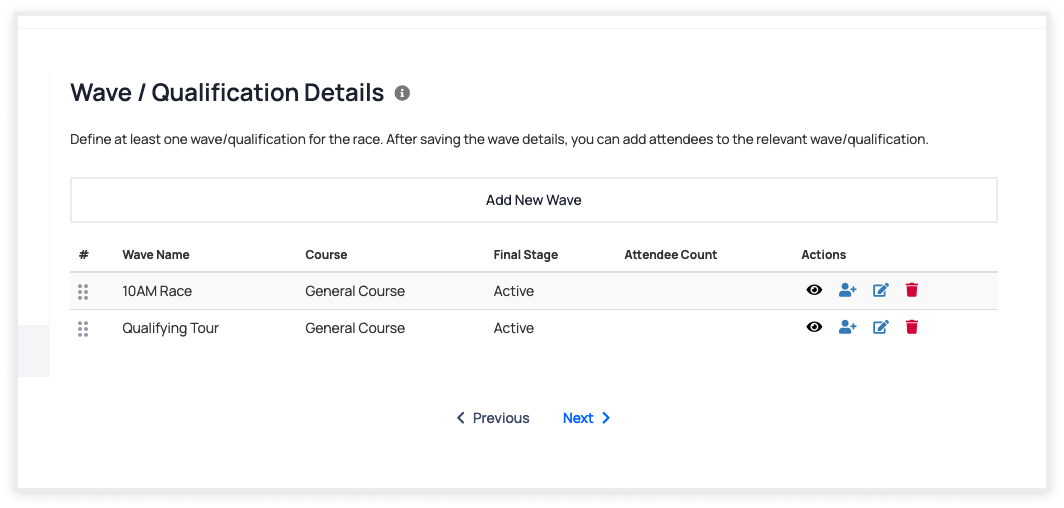
For the created waves, you have the following actions:
 --> shows the details of the wave
 --> add athletes to the wave
 --> edit the details of the wave
 --> remove the wave
The first thing you will need is to add athletes to your new wave. Click on ![]() (Add Attendees).
(Add Attendees).
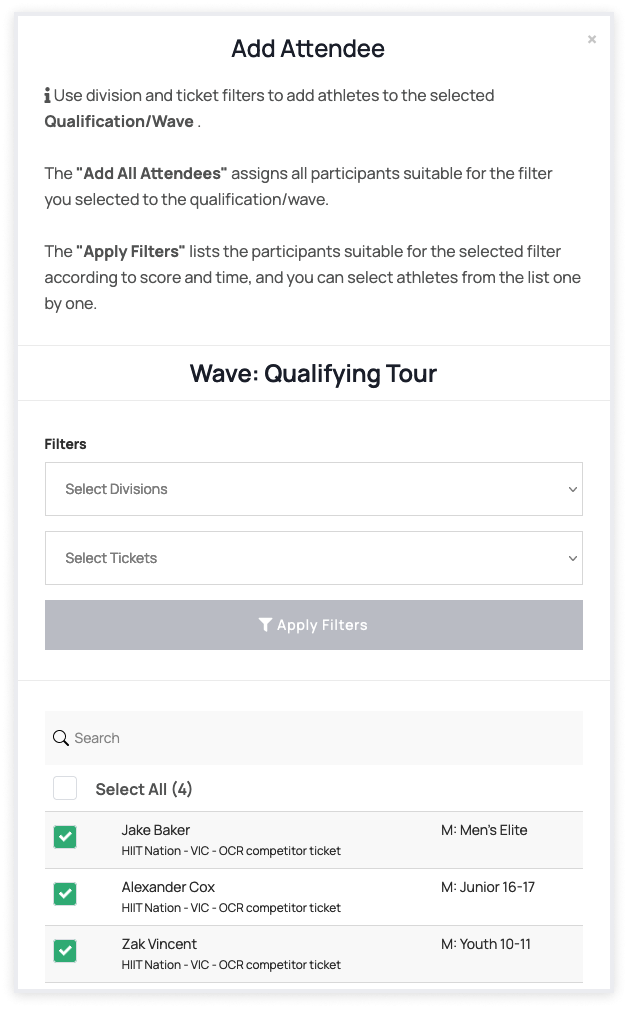
All attendees eligible for addition to this modal, including previously added ones, are listed (indicated with a tick mark). You have the option to select and save all of them using the 'Select All' option. Alternatively, you can filter by division and ticket, and then choose the attendees.
Check the boxes next to the names of the athletes that you want to add to the wave. You can add the same athlete to multiple waves.
Note: You don't have to add athletes immediately after creating the wave. If it's not yet known who should be competing in a given wave, you can add athletes to it later, which is useful when you want the winners of the qualifiers to rego in a final run, for instance.
Once you've selected the athletes, click Save.
Click the ![]() icon next to the relevant wave to see the athletes in it or to remove athletes from it.
icon next to the relevant wave to see the athletes in it or to remove athletes from it.

7. Fill and save other sections and click on publish event at the last stage. That's all. You're ready to have fun!
Last Update: 6 May 2024