
Tags are a versatile way to categorize and showcase different aspects of your events. Here's how they work:
What are tags?
Tags can represent sponsors, speakers, hosts, guests, VIPs, or any custom category you create. For example, you are organising a course/seminar event and you can use it to introduce speakers. Or you have a world championship event and want to give credit to sponsors.
You have complete flexibility to create as many tags as you need, with no limitations on the type or number.
How are tags displayed?
You can choose whether to feature each tag as a dedicated page under your event or as a smaller thumbnail on the event page itself. This allows you to control how prominently you want to display different tags.
Who can manage tags?
Organisation admins can add, manage, and edit tags from the Organisation Dashboard.
How are tags assigned?
Each tag is associated with your organisation and can be attached to multiple events that your organisation are responsible for. This makes it easy to apply consistent tagging across a series of events.
What happens when a tag is removed from event?
Removing a tag removes it from public view on the front-end of your event page. This gives you control over which tags are currently active and visible to your audience.
By utilizing tags effectively, you can enhance the organisation of your events, make it easier for users to discover relevant content, and provide valuable information about the people and organisations involved in your events.
Instructions
Tags can be sponsors, speakers, hosts, guests, VIPs, or anything you want. You can create any number and type of them. Each tag belongs to an organisation admin and to their events. Basically, organisation admins can add tags, and link them to their events.
Manage Tags
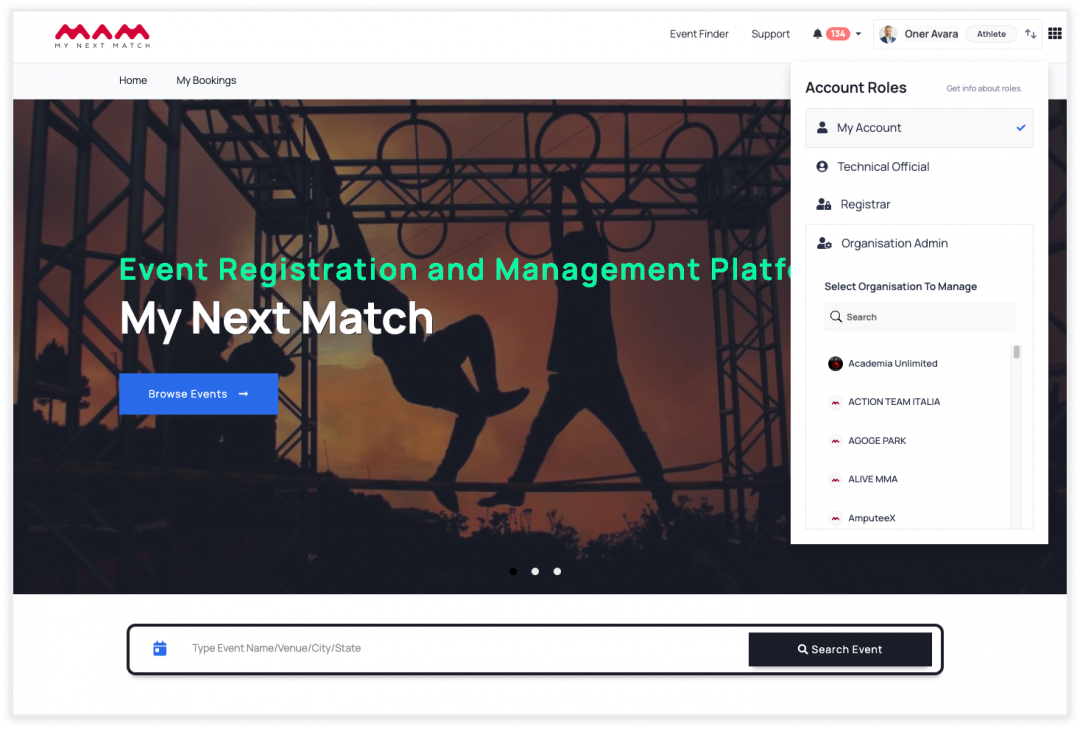
1. First of all, visit the MNM Events and switch to your organisation profile. Click on the dropdown menu in the top right. Select the Organisation Admin role and select your organisation to manage.
2. Go to 'Tags' from the top navigation bar.
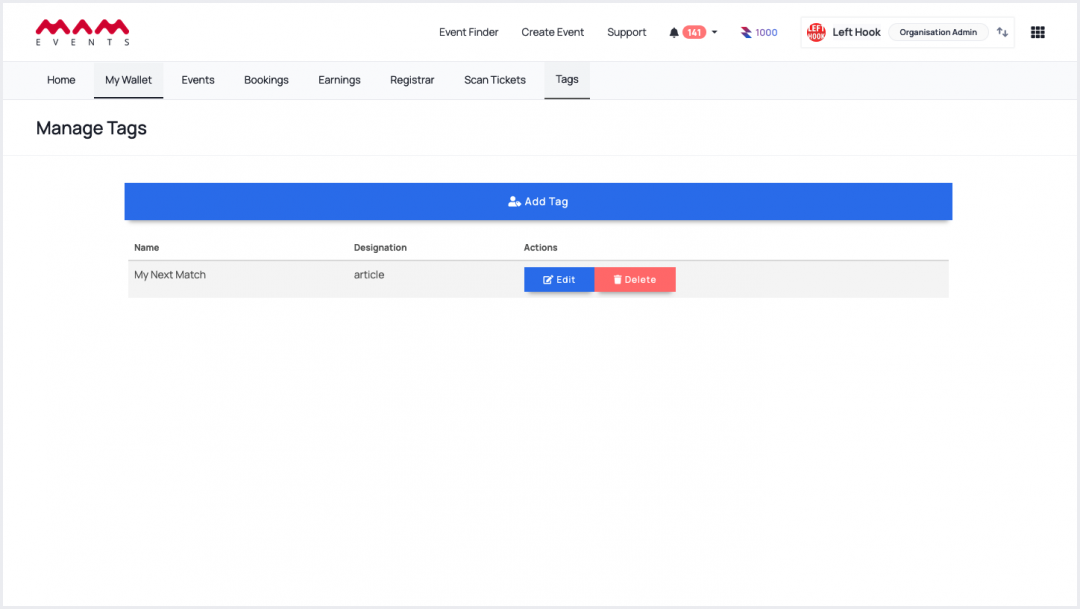
The Manage Tags page will come up. On this page, you can view, create, edit, and delete your tags.
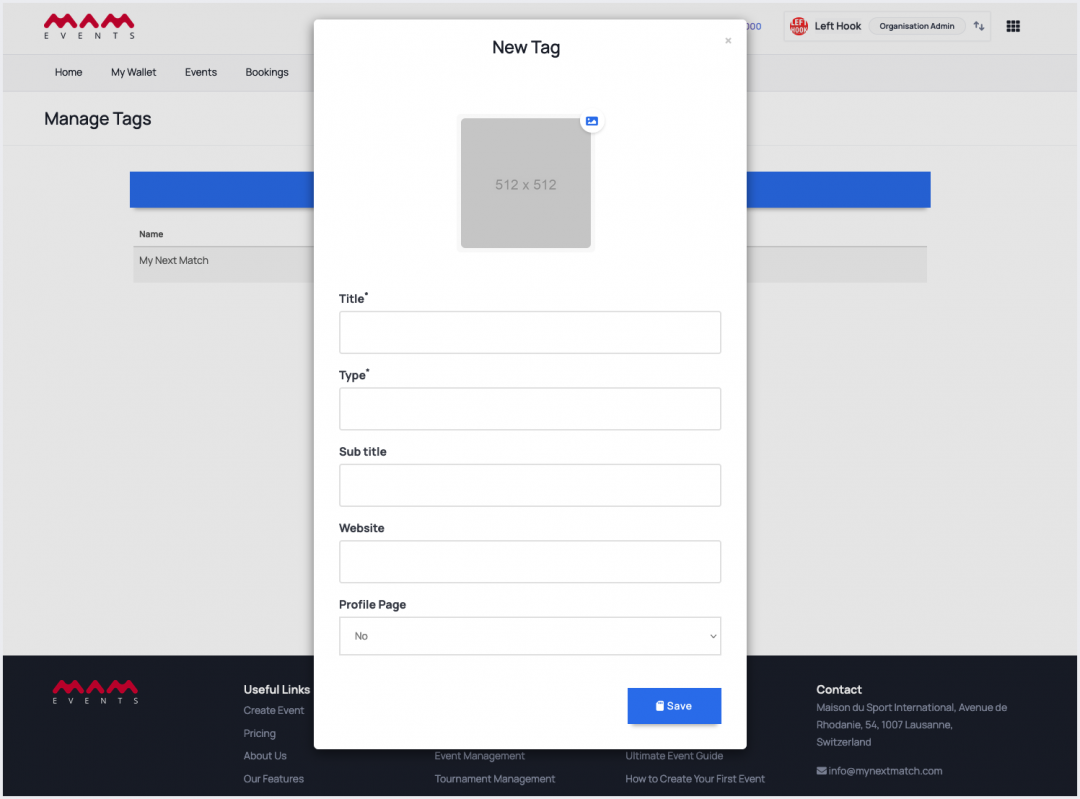
3. Let's start by creating a new tag. Click Add Tag. Add these details and save:
- Image
- Title - name of the sponsor, speaker, DJ, etc.
- Type - sponsor, speaker, DJ, etc.
- Sub title - Brand/Company name or any sub-title (optional)
- Website (optional)
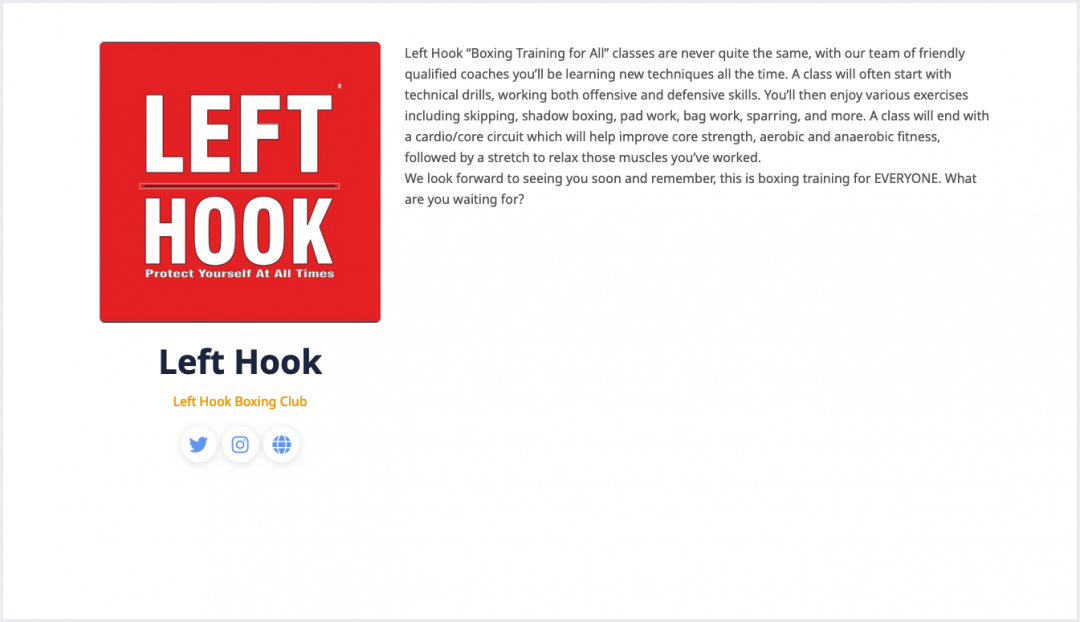
- Profile Page - if you want to show a profile page for tag.
If you select Profile Page as Yes, you can add these Optional details.
- Description (optional)
- Phone (optional)
- Email (optional)
- Facebook (optional)
- Instagram (optional)
- Twitter (optional)
- LinkedIn (optional)
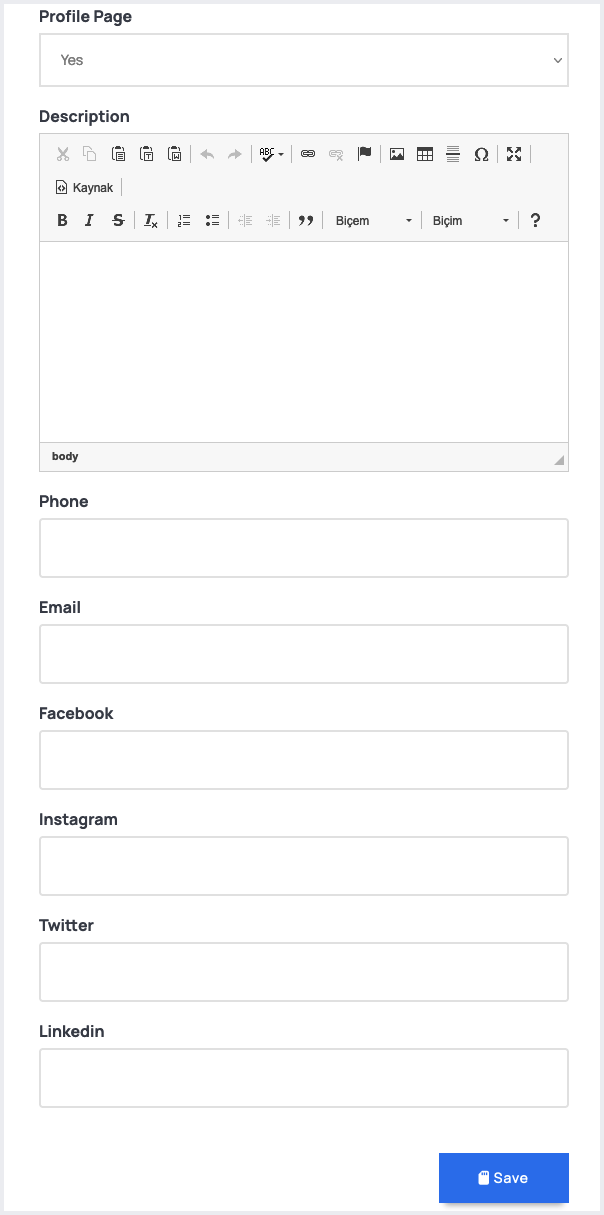
All of this info will be shown on the Tag Profile Page.
4. After saving your tags, you will return the tags list. Click Edit to update the tag details or Delete to remove the tag.
Add Tags To An Event & View
1. Now, you can add tags to an event. Turn the Manage Events page to Edit Event and then search on tags to add one. You can also create tags on this page (Add Tags)
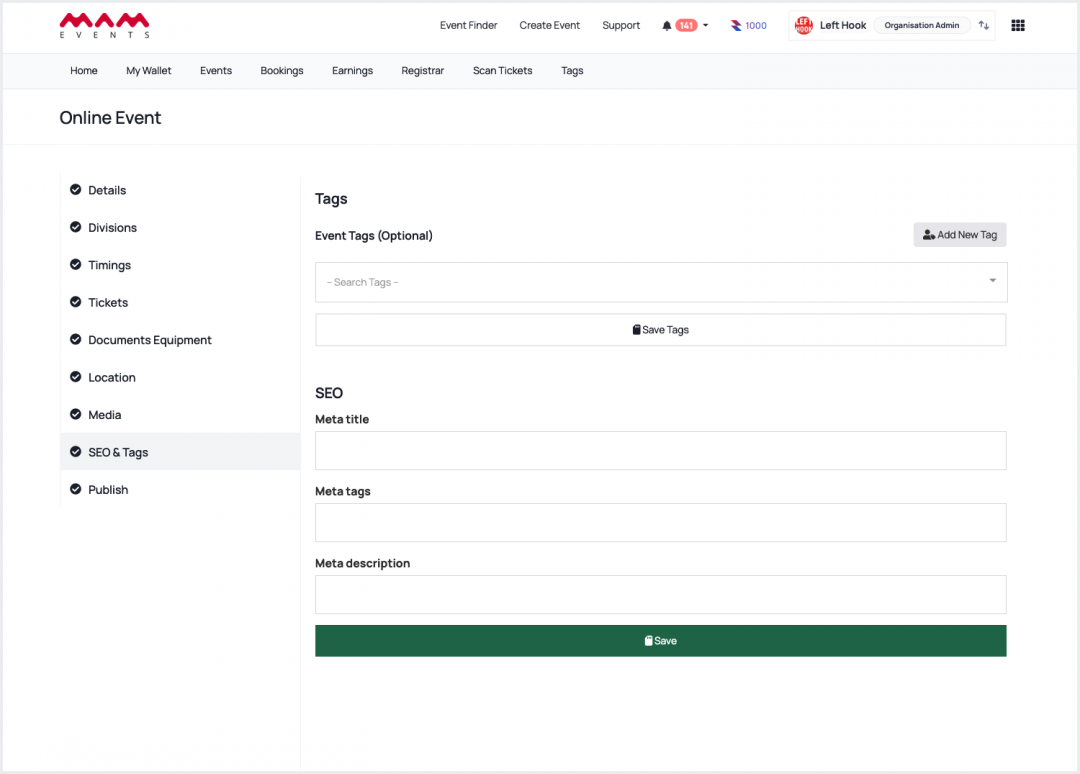
2. Select tags and click Save.
3. Visit the event page, view tags, and click to view the tag profile.
That's all about tags!
Last Update: 6 May 2024