This article deals with managing the ranking and race settings. Then, you will be ready for management.
To know more about how to create an event, follow Create Events.
This article deals with Ninja Scoring which calculates attendee scores according to obstacle fail/pass status or uses manual point entry. For the World Obstacle Scoring System, click here.
Ranking & Scoring
1. Open the Ranking tab.
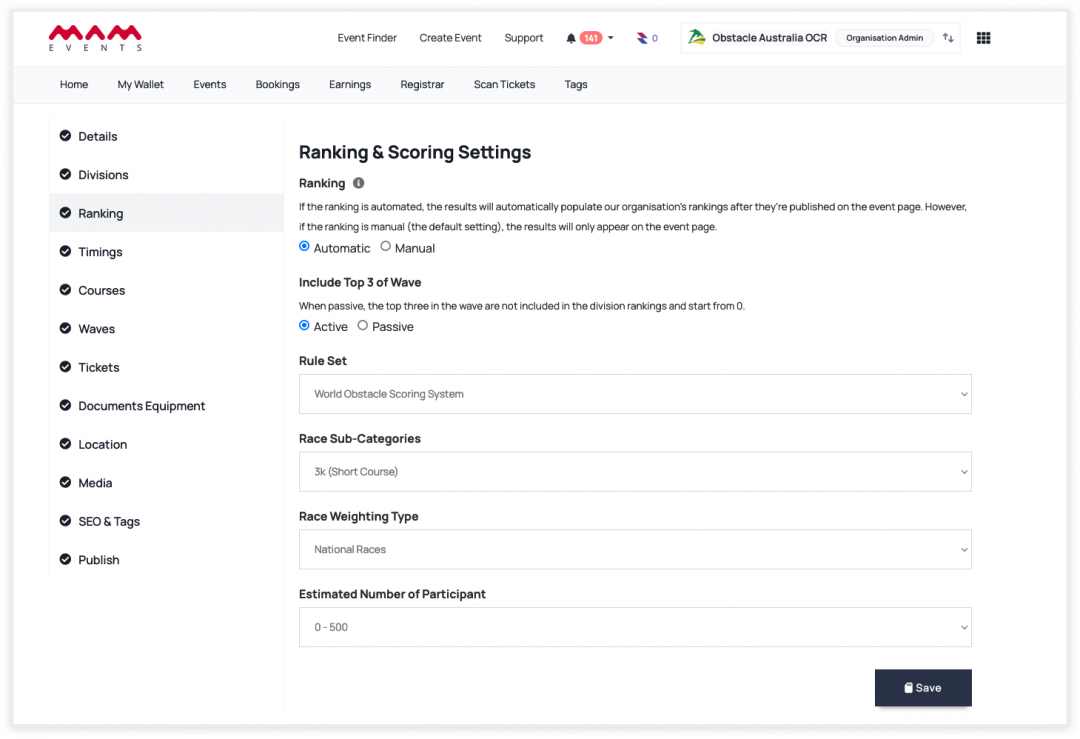
2. Update Ranking status.
As an organisation, you can generate a general ranking based on the scores received by athletes participating in your events.
If the ranking is automated, the results will automatically populate our organisation’s rankings after they’re published on the event page. However, if the ranking is manual (the default setting), the results will only appear on the event page. In such cases, you can manually update the organisation rankings if necessary.
- If your organisation is in the International Federation, this affects International Ranking.
- If your organisation is a National Federation, this affects National Ranking.
- If your organisation is a club, you will not view this parameter on the settings page.
3. For the Include Top 3 of Wave option, when passive the top three in the wave are not included in the division rankings and start from 0.

4. For the rule set, select Ninja Scoring System.
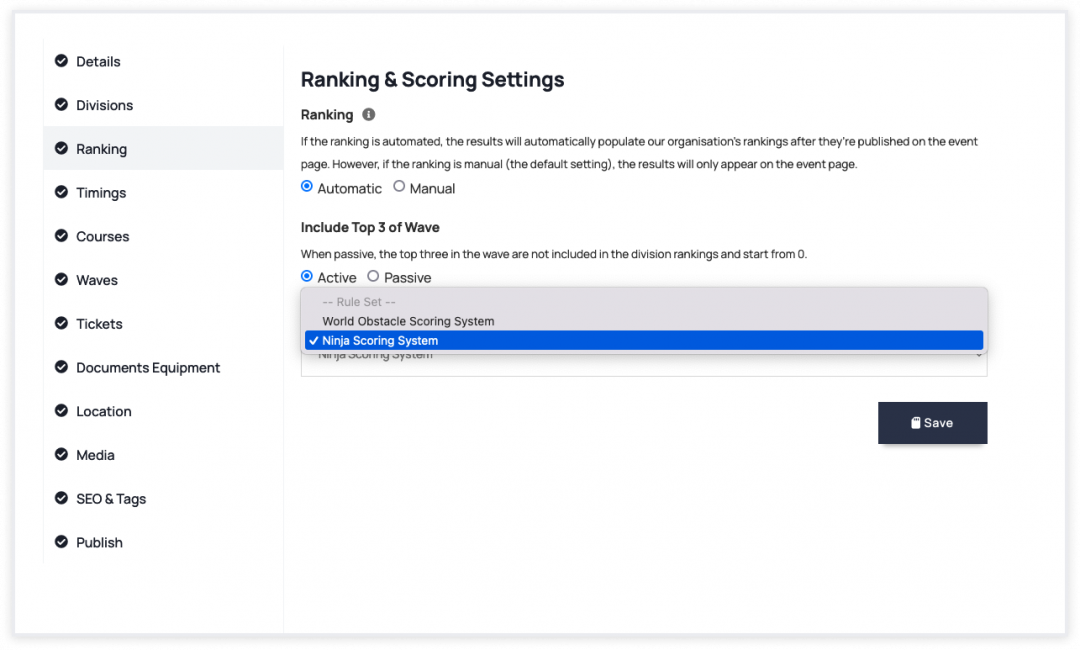
5. Fill out the other tabs and proceed to publish your event.
Now, you are ready for management. Start selling tickets and get attendees.
Race Settings
Check the article to set the wave and course and assign attendees to wave/qualifications.
Results
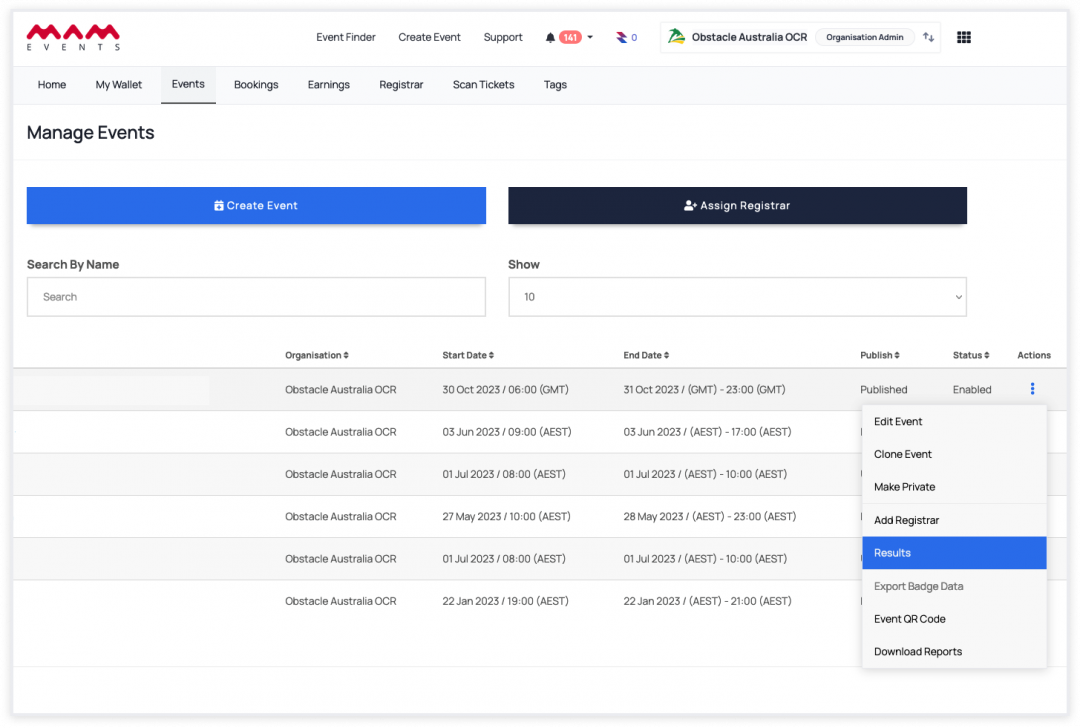
1. Open the Results page from the event page or Manage Events.
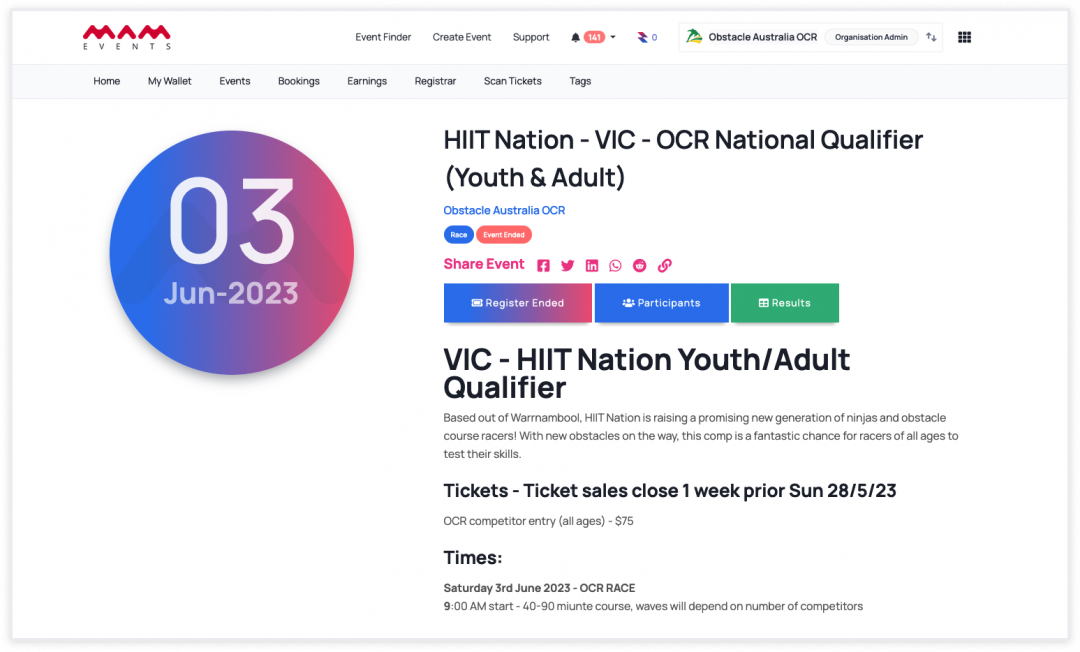
-------------------------------- or --------------------------------
2. The results page shows attendee details with their results and division, course, and wave details.
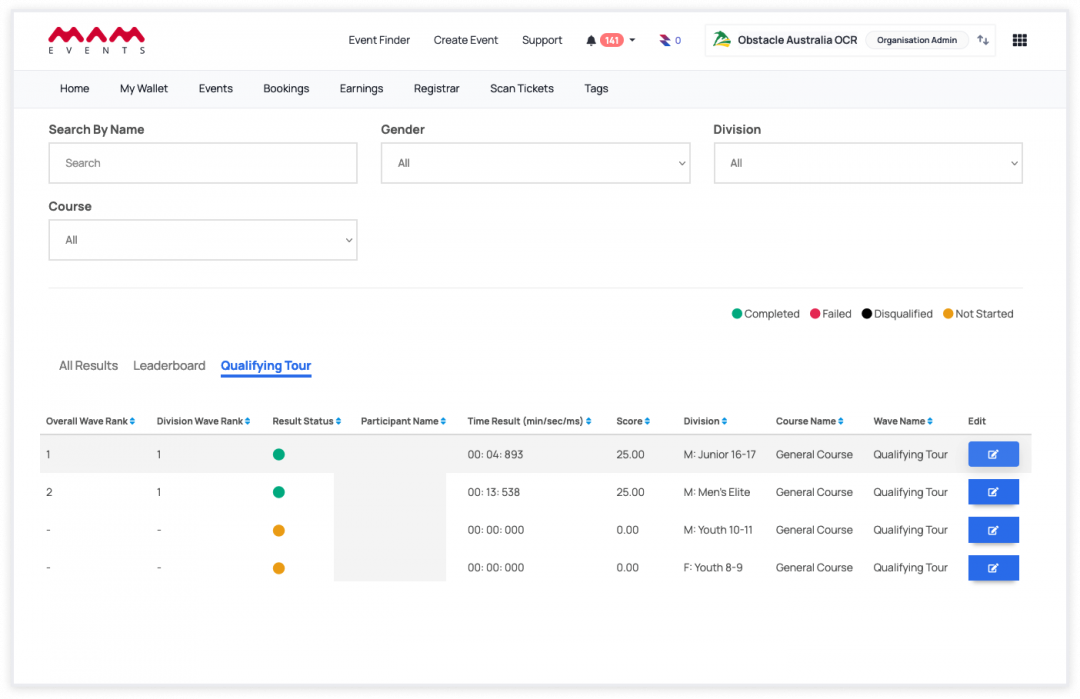
3. Click the Edit button to open the attendee result modal.
3a. The result page consists of 6 sections (Obstacles: enabled on event settings)
-
- Attendee Details Modal
- Attendee Name
- Attendee Division (if it is enabled)
- Division Wave (if it is enabled)
- Division Course (if it is enabled)
- Total Time
- Point
- Rank
- Overall Rank
- Division Rank
- Result Status
- Wave Switch Dropdown
- Attendee List in Selected Wave
- Timer
- Obstacle Status
- List of Obstacles
- Attendee Details Modal
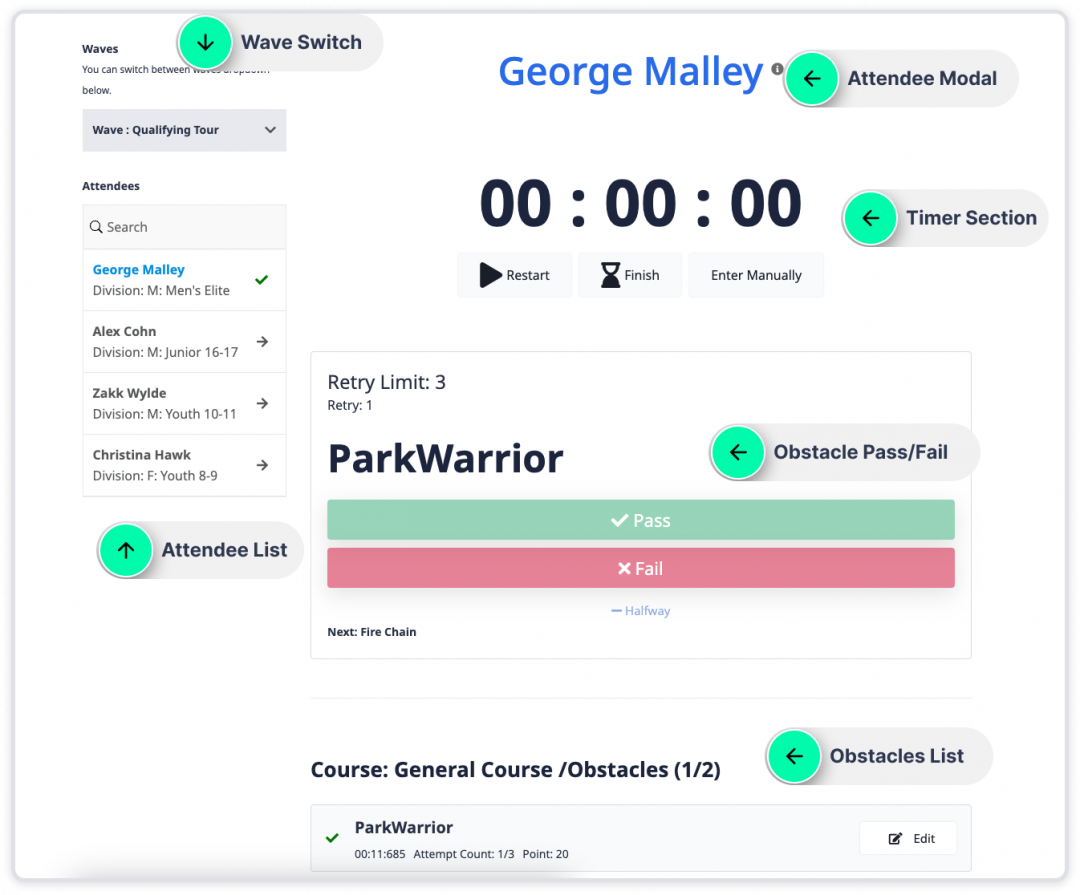
3b. The result page consists of 5 sections (Obstacles: disabled on event settings)
-
- Attendee Details
- Name
- Division (if it is enabled)
- Division Wave (if it is enabled)
- Division Course (if it is enabled)
- Total Time
- Point
- Overall Rank
- Division Rank
- Result Status
- Wave Switch Dropdown
- Attendee List in Selected Wave
- Timer
- Manual Point Entry
- Attendee Details
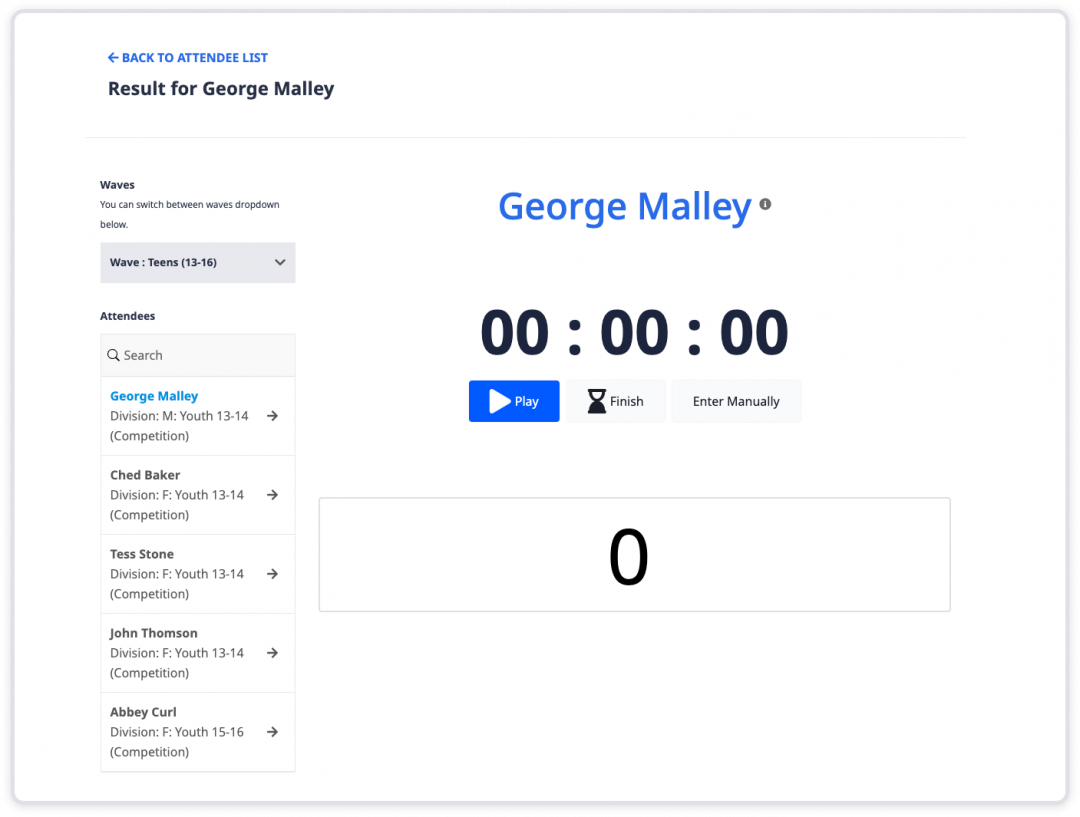
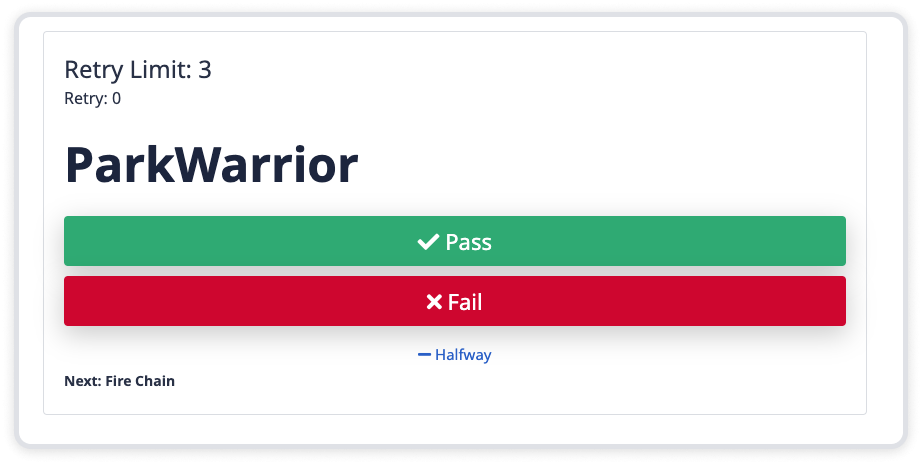
4. Click Play to start the timer and update the obstacle status.
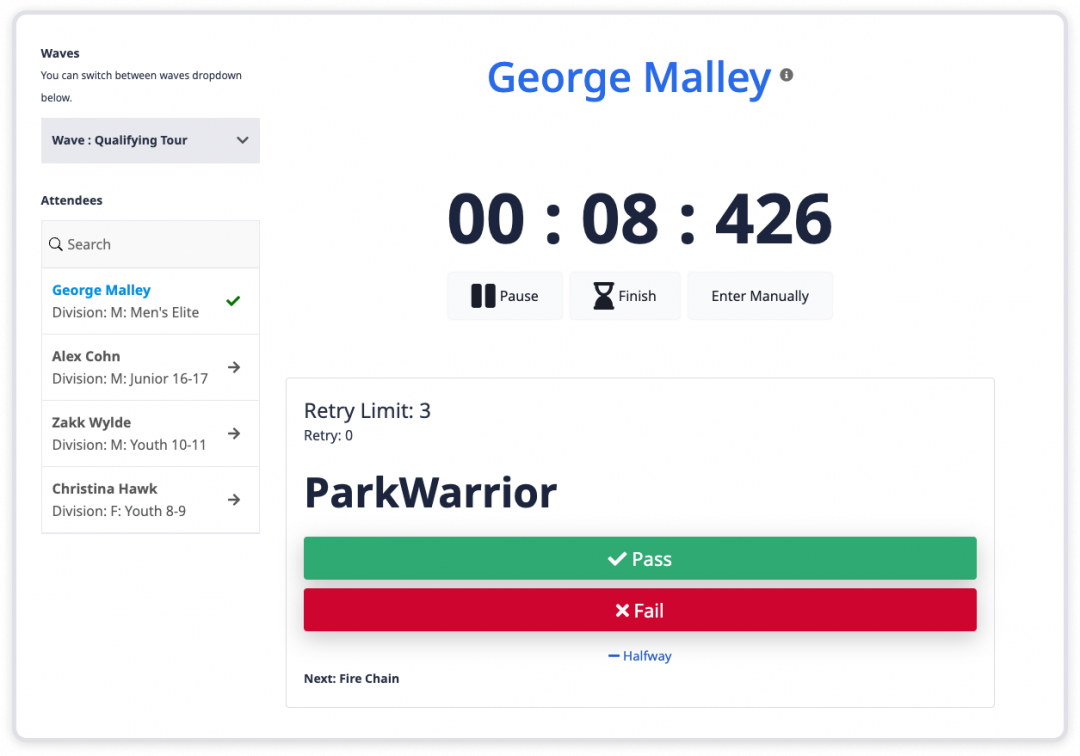
Note: In the Obstacle field, the name of the obstacle, the maximum number of attempts, and the next obstacle are presented. If the Obstacle status is failed, the next obstacle will not be active until the obstacle's maximum number of attempts is reached or the pass/halfway is selected.
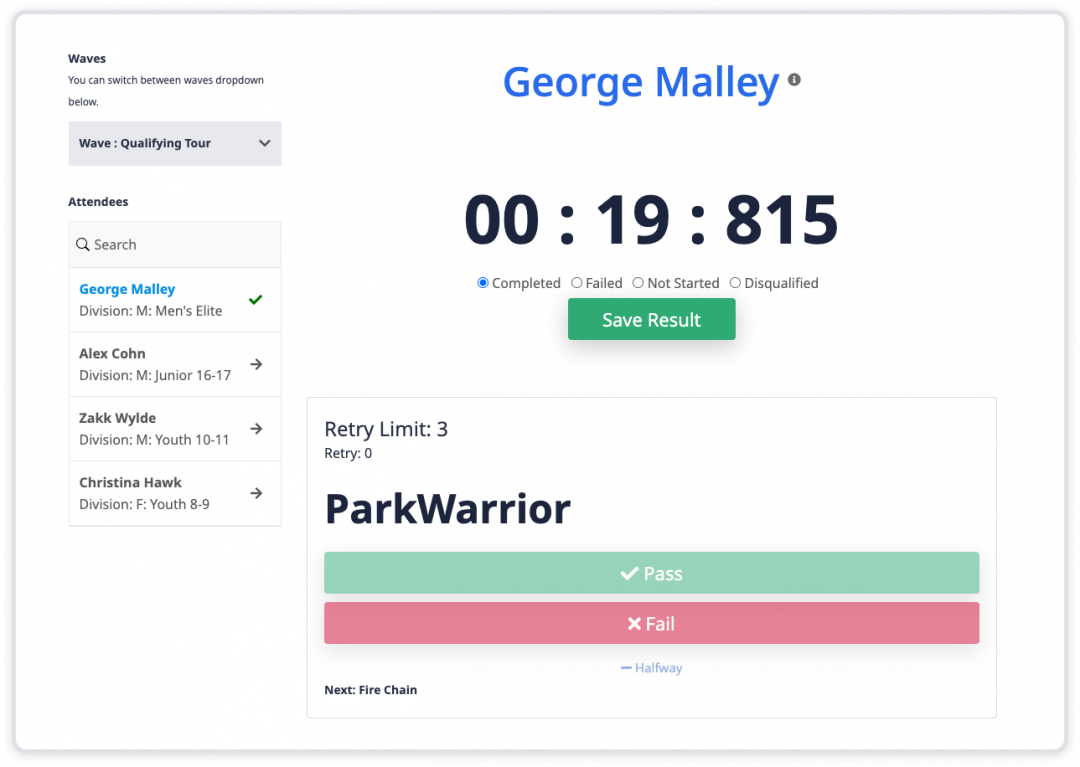
4. When the course is completed, click the Finish button, update the attendee status and click Save Results.
Note: If there is a course time limit and attendees pass this limit, the status is assigned as Failed automatically.
5. After completion, you as an event admin can update the result status, time result, and obstacle attempts (if it is enabled). Or you can reset all records and start the course again via Restart.
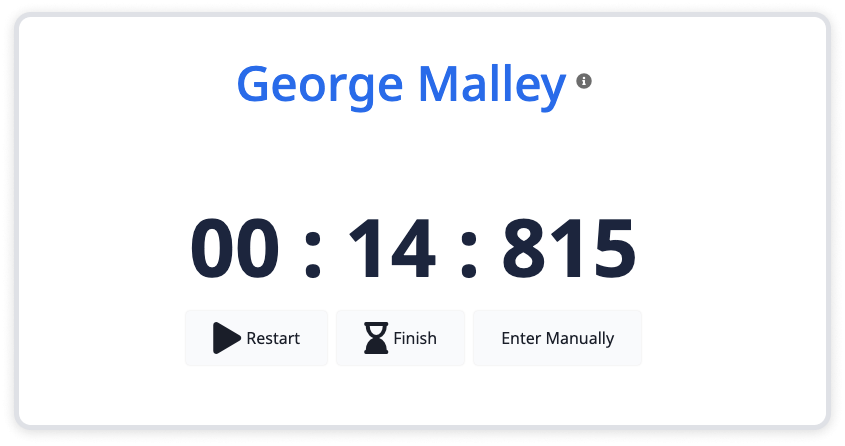
5a. Click Edit to update the time result.
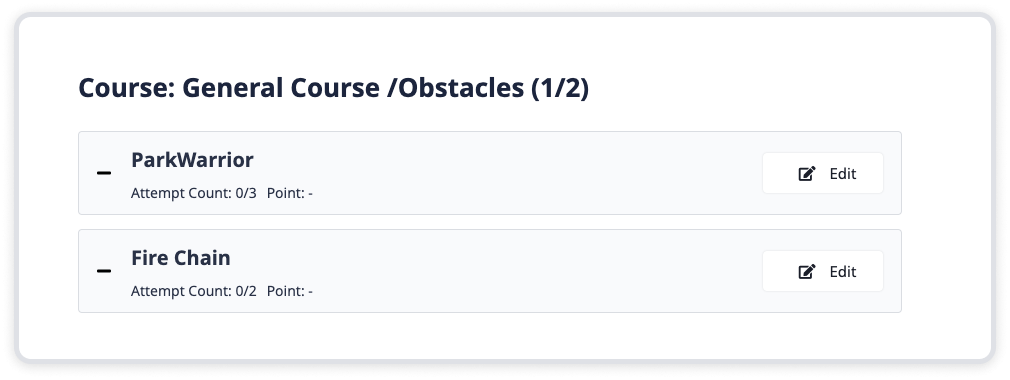
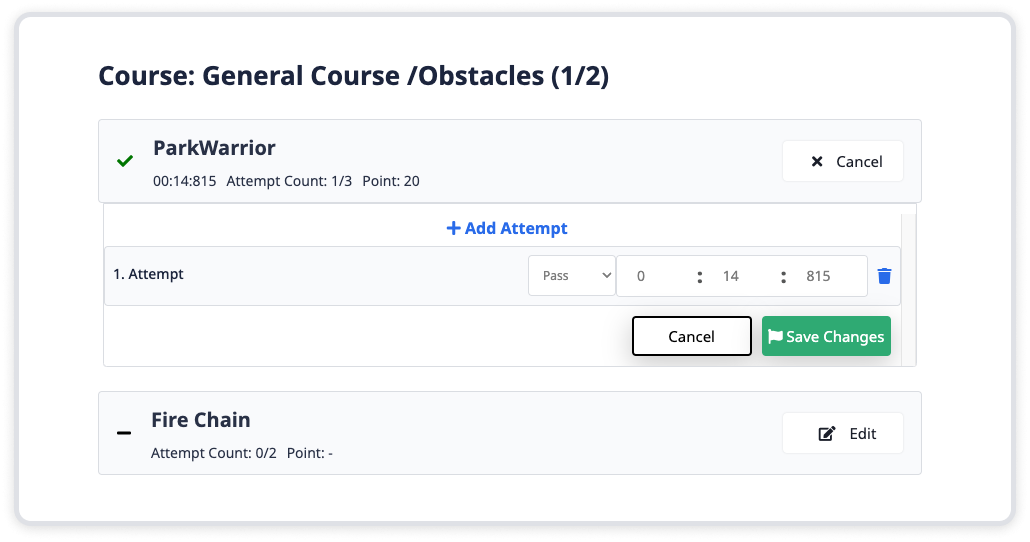
5b. Click the Edit button next to the time result of the obstacle. Then you can add or remove its attempts.
 Reminder
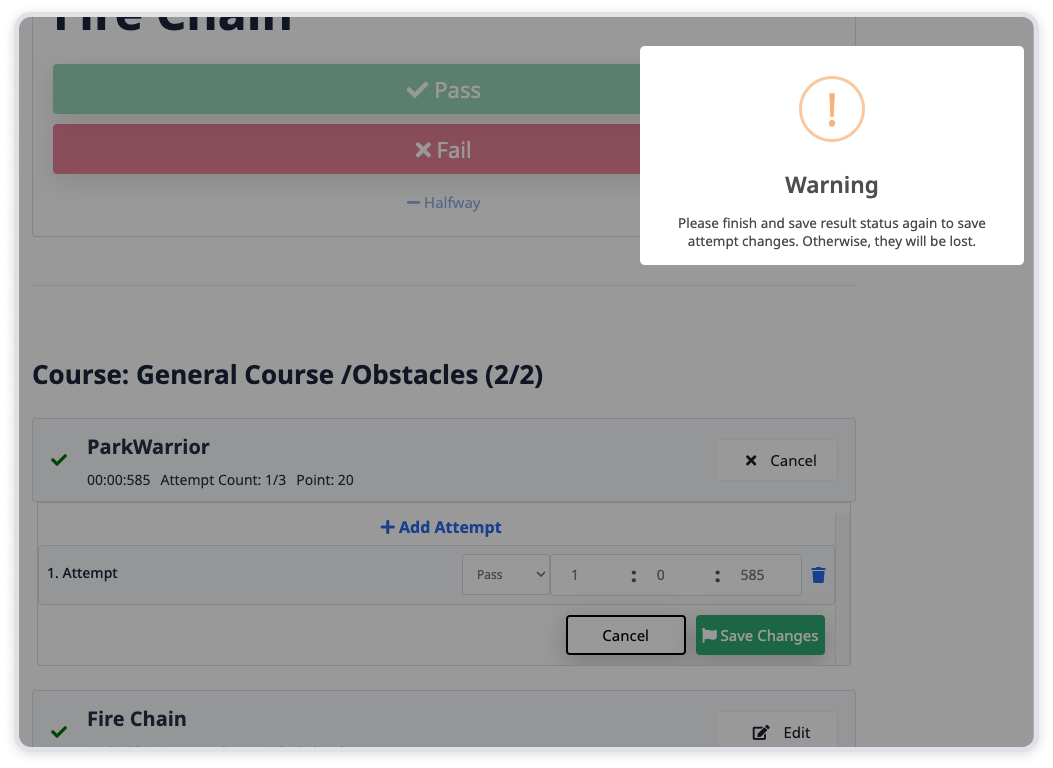
Don't forget, you need to save the result status again after updating obstacle attempts or time results.
6. After completing the course, you can switch another attendee from the attendee list.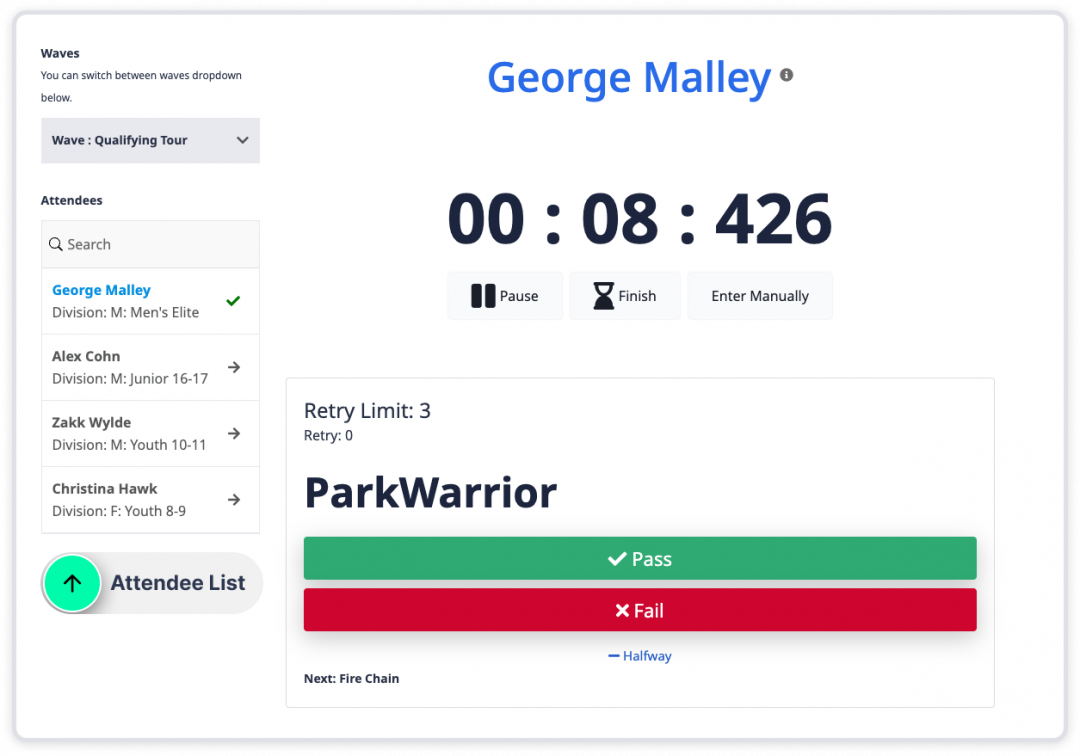
That's all, you're done!
Last Update: 6 May 2024
