
As an organisation admin, you can create single & multiple-day events for your organisations in MNM Event. You can also create online, repetitive, and fundraiser events. In this article, we will focus on simple events to avoid confusion.
 Reminder
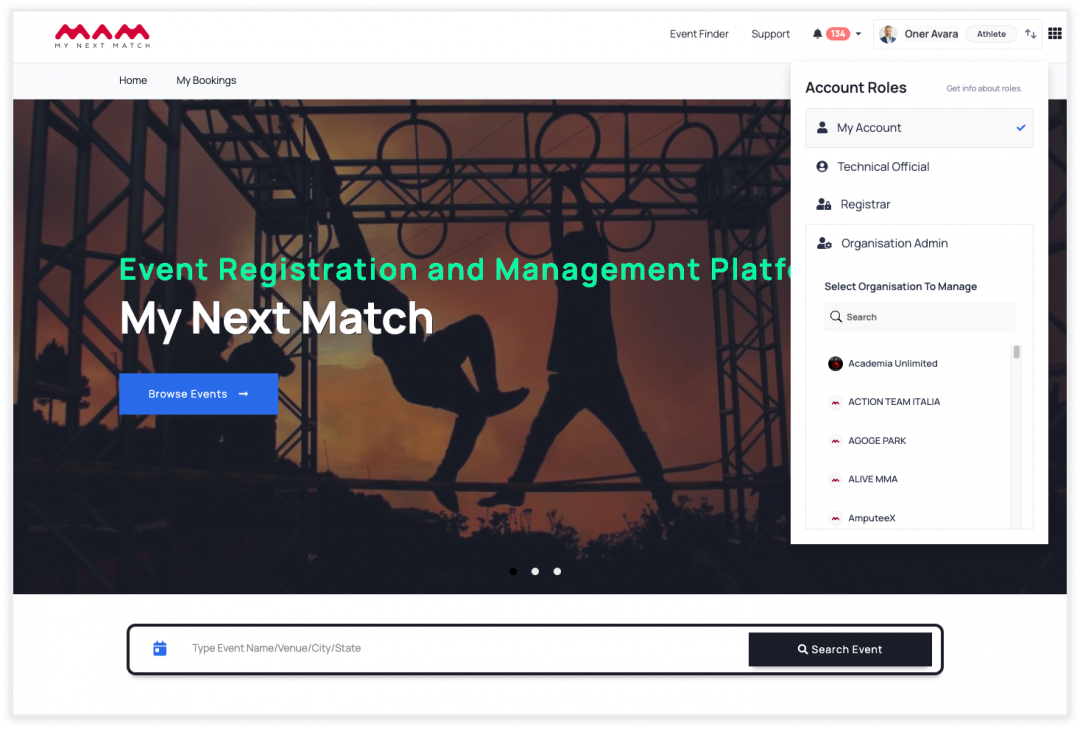
Only organisations can create events. If you have an organisation, switch to the organisation admin role from the user menu. If you are not an organisation admin of a club, a team or a federation, you can create yours. (see article)
 v
v
Instructions
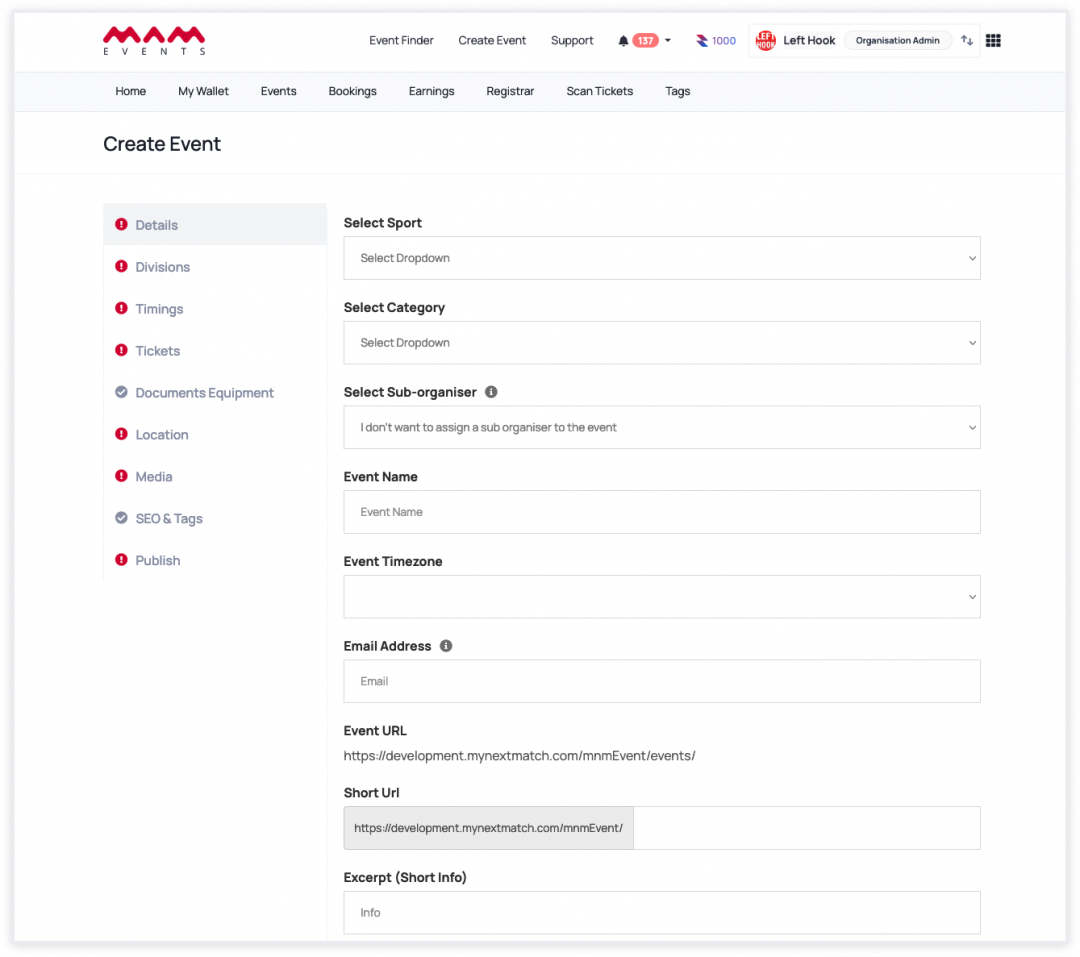
1. A simple event refers to single or multiple day events. To create one, click on Create Event to get started. Event creation consists of eight steps.

2. The first step is mandatory to proceed to the next step. Add the following details to proceed to the next steps:
- Event Sport (shows organisation sport list)
- Event Category (Course&Seminar, Tournament, Match Card, Race, Training&Bootcamp)
- Sub-organiser (shows affiliated clubs of the national federations)
- Event Name
- Event Timezone
- Event URL (auto-generated)
- Short URL (auto-generated and editable)
- Event Excerpt (Short Info)
- Description
- Why to attend the event? (optional)
- Offline Payment Instructions (Instructions to show under Offline Payment Option)
- Event-Specific Currency (USD, GBP, EUR, AUD)
- Event Sold Out option (ends registrations)
- Rating & Review (allows users to add reviews to the event)
Notes
- If the event category is race, additional details are needed to publish the event. For details, view the article (Settings and Management for Race Events).
Reminders
- The currency unit of the event cannot be changed after the event is created.
- The sub-organiser organisation has admin-level access to the event management pages.
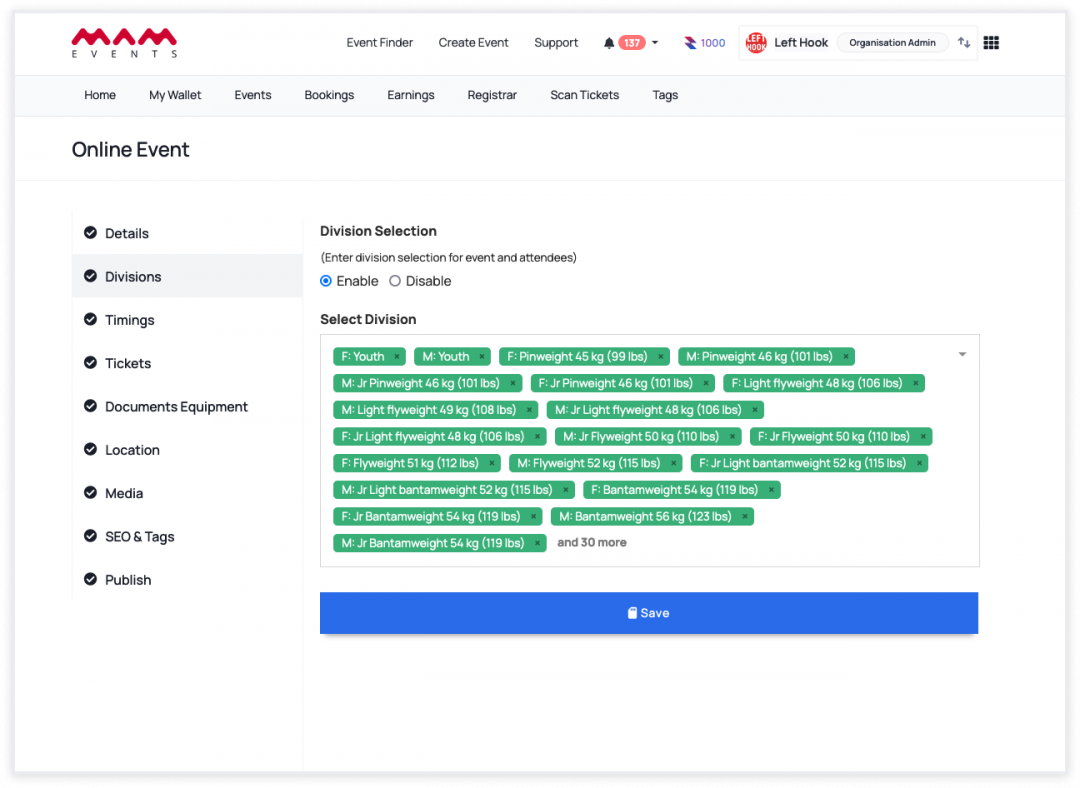
3. If you're planning to have divisions/sports categories, click "Enable", and then select the divisions that can participate in the event (all or specific divisions). You can also manage divisions for all tickets.
4. Then, set timing for single- or multiple-day events.
- Start date
- Start time
- End date
- End time
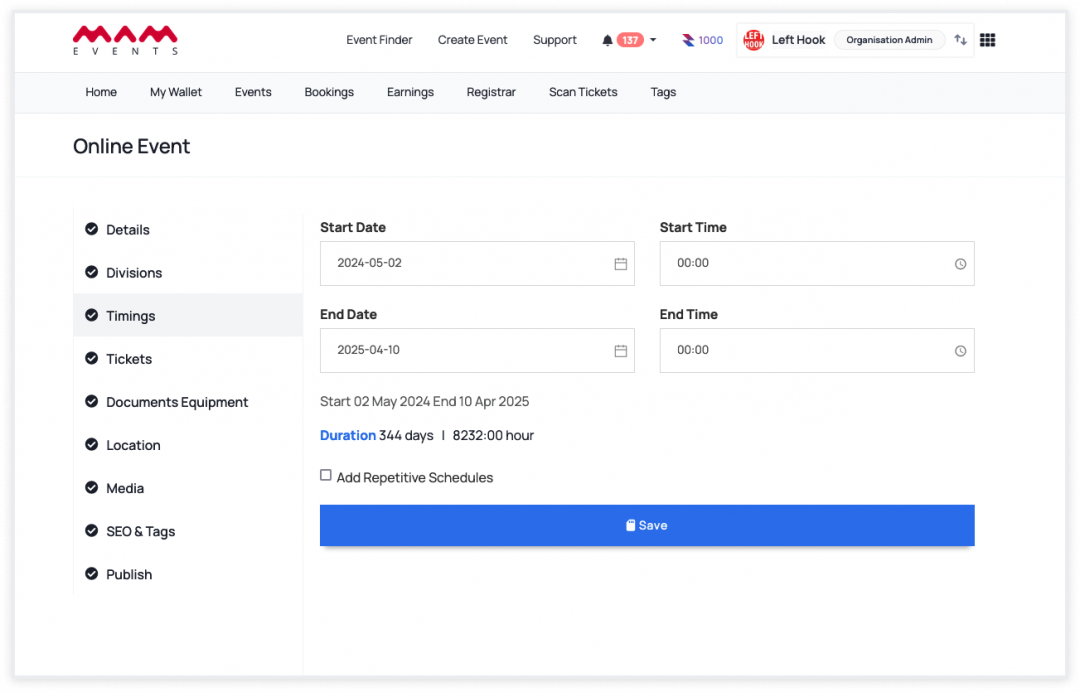
Note: Do not check the Add Repetitive Schedules, we'll discuss it in its section.
5. In this step, create and view tickets for the event. Click Create Ticket to add one.

You can create free and paid tickets. Fill out the details to proceed.
Common Fields for Tickets
- Ticket Type (Individual, Team, Merchandise)
- Title
- Price (set 0 for free tickets)
- Total Ticket Quantity (denotes the max bookings for each ticket)
- Booking Limit Per Customer (denotes how many times the same customer can purchase this ticket)
- Description (optional)
- Taxes (defined by MNM Event Admin) (optional)
- Promo codes (defined by MNM Event Admin) (optional)
- Sale Start & End Dates
- Sale Price (set it the same as Price if there is no discount)
- Sold Out (ends bookings of the ticket)
- Donation (if it is active, the customer can choose the amount of the donation
- Fields for Individual Tickets
- Role
- Membership Status (Athlete)
- Auto Approval (Athlete, Coach)
- Available Divisions (Athlete)
- Fields for Team Tickets
- Max. and Min. Attendee Number
- Auto Approval
- Fields for Merchandise
- Item Description
- Item Link

6. Event location details can be added via a Google search and by selecting a result. This way, the form can automatically be filled out based on your exact selection. Alternatively, you can manually input Google Maps' Lat-long data to triangulate on the venue and to pin it on the google map which will be shown on the event page. Decide on the venue and then enter the other details and go to next step.
- Google Search Location
- Online Location (for online events)
- Youtube/Vimeo Embed Code (trailer etc.) (optional)
- Venue
- Google Map Lat. (optional)
- Google Map Long. (optional)
- Venue Address Address (optional)
- Country
- State
- City
- Zipcode
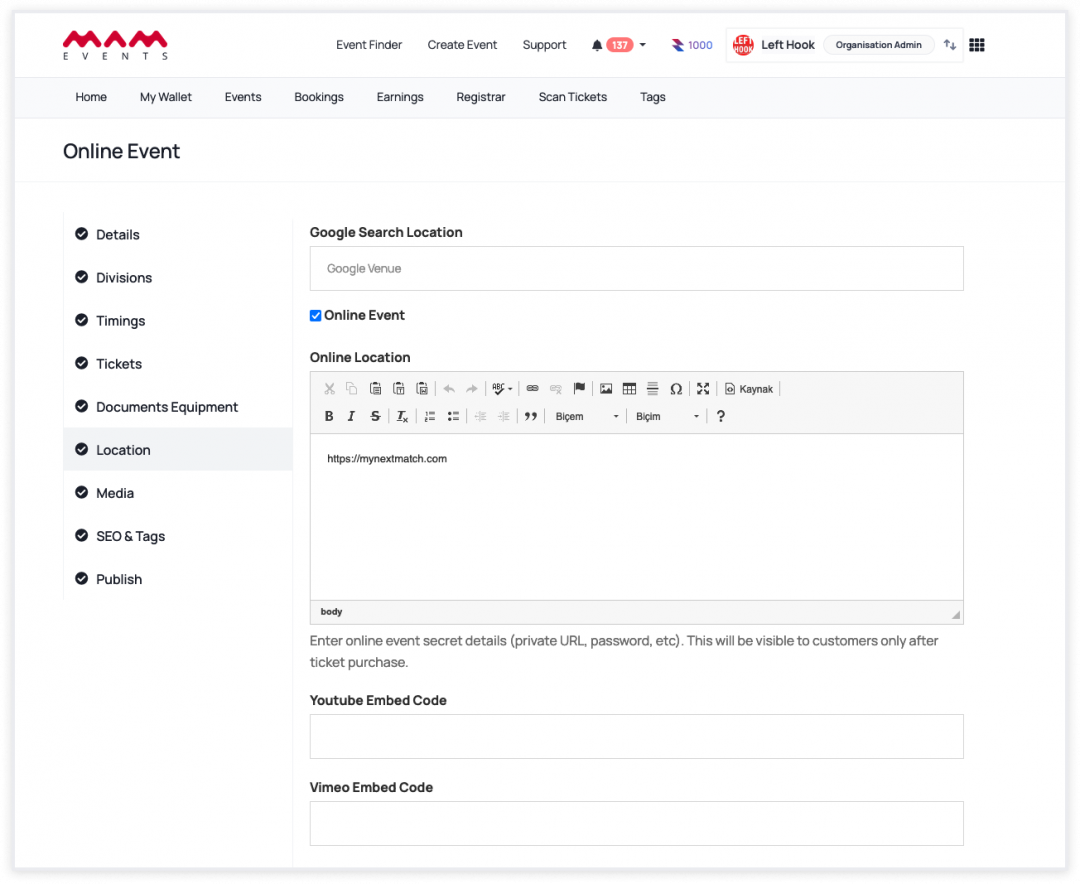
Note: Do not check the Online Event, we'll mention it in another section.
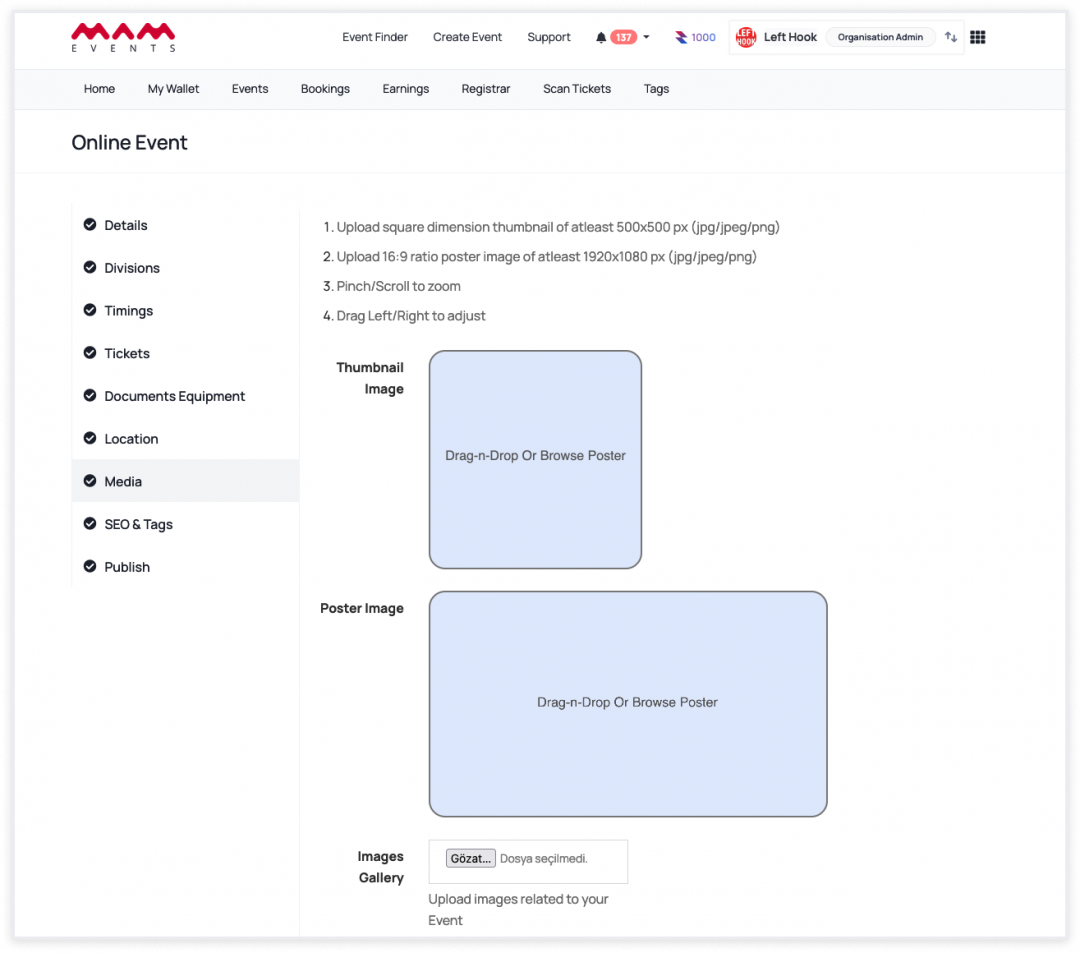
7. Upload an event poster, a thumbnail, and images and crop and adjust them if it is necessary. Make sure that you upload images that are within the specified size range. In addition, you can also define an image gallery and youtube video for the event.
- Thumbnail
- Poster Image
- Images Gallery (optional)
- YouTube Video ID (optional)
8. Type in the meta titles, keywords, and descriptions. These tags will be specific for each event and are for event-specific SEO.
- Meta Title (optional)
- Meta Tags/Keywords (optional)
- Meta Description (optional)
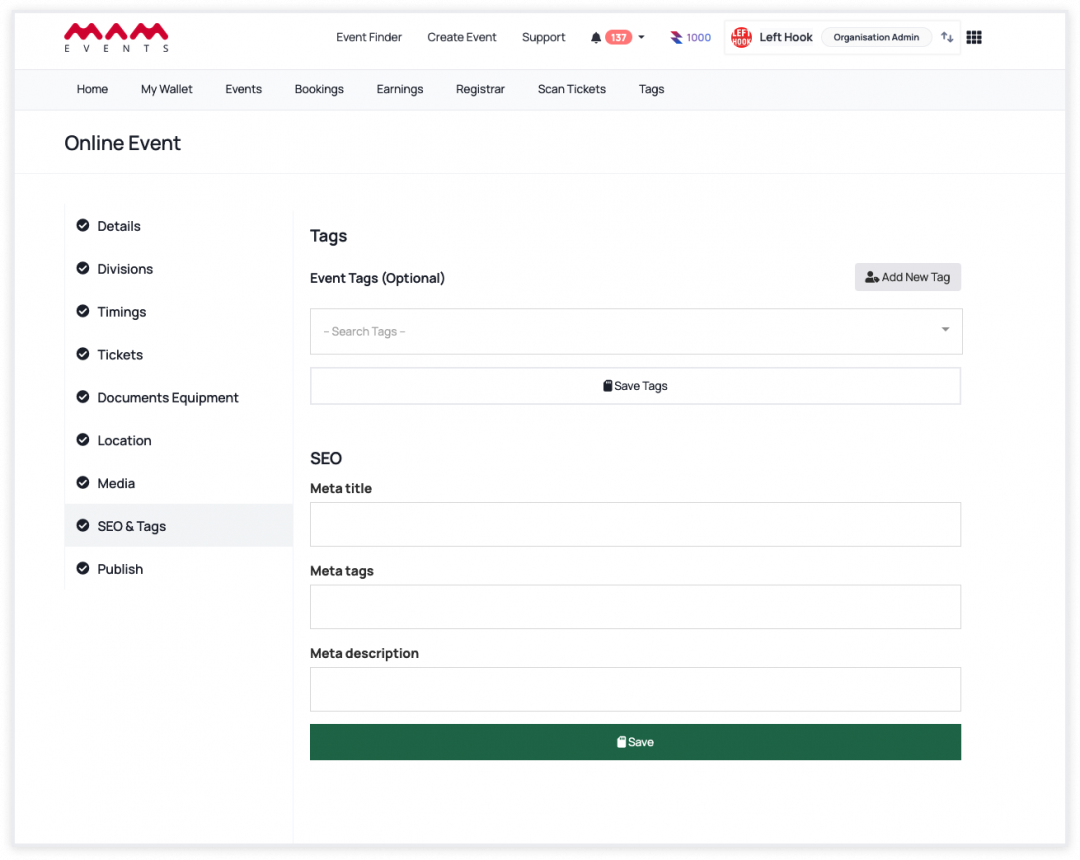
And, you can create and add tags to mention your sponsors, team, coaches etc.
9. This is the final step before publishing. Save all and then click Publish to start ticket selling. You can also Unpublish / Publish anytime.
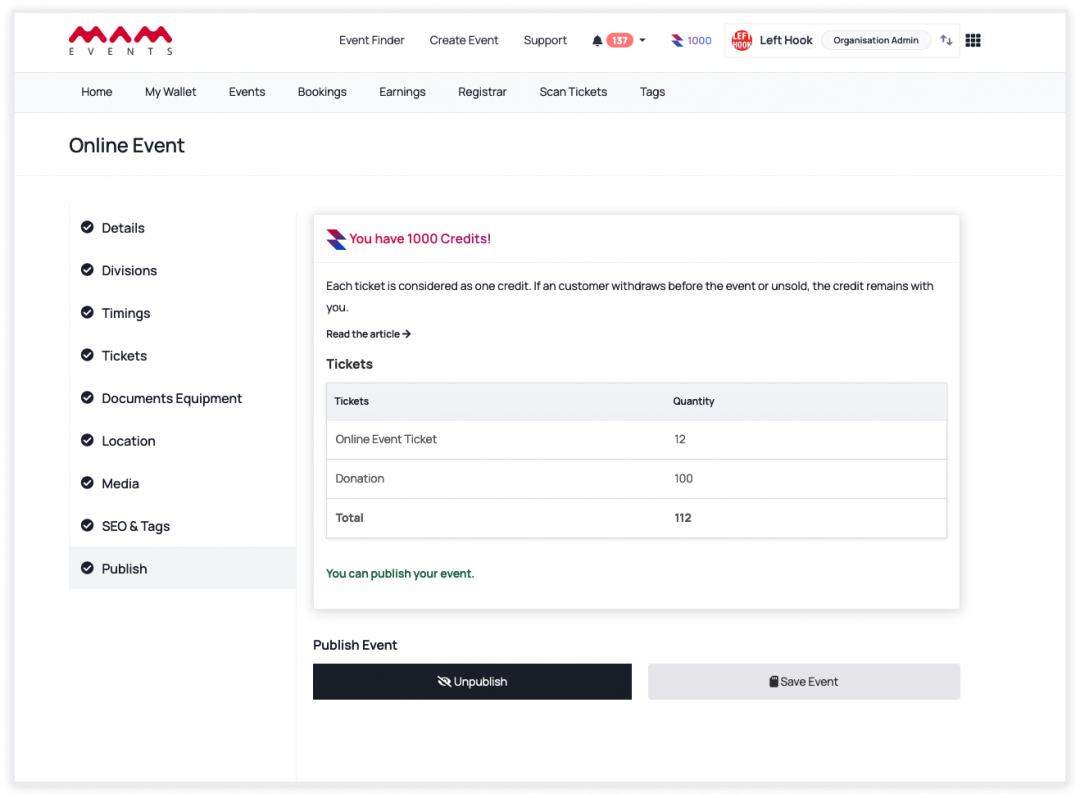
That's all.
Last Update: 2 May 2024