
On the MNM Event, you can view and edit the bookings that you have purchased. In this article we have three sections; select tickets for booking, fill in your booking details, and application approval.
Select Tickets
1. Go to mynextmatch.com and provide your login details to continue.
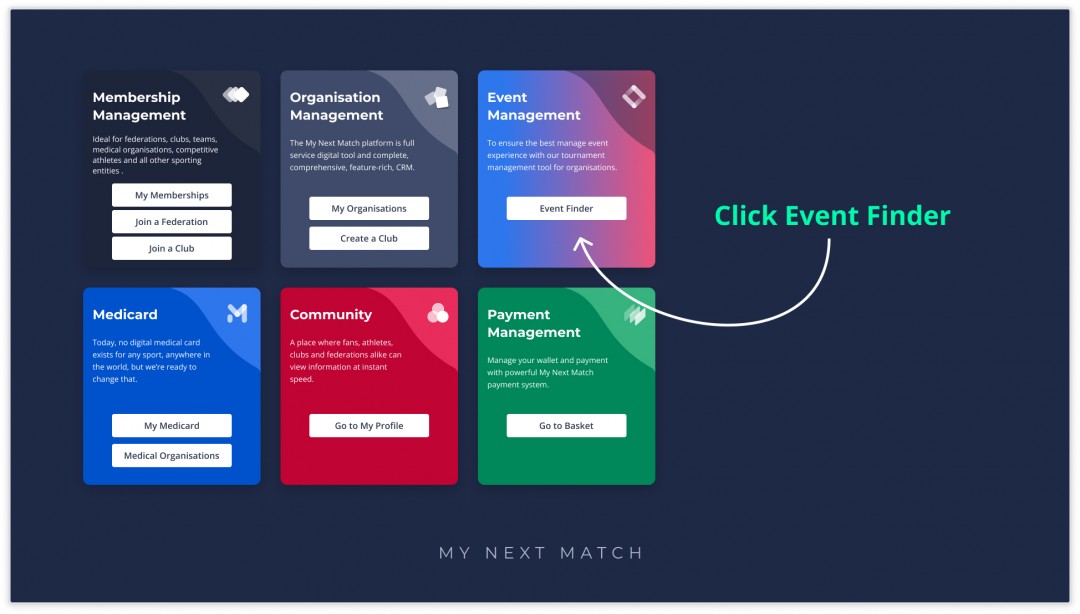
2. While in the Lobby, click on Event Finder.
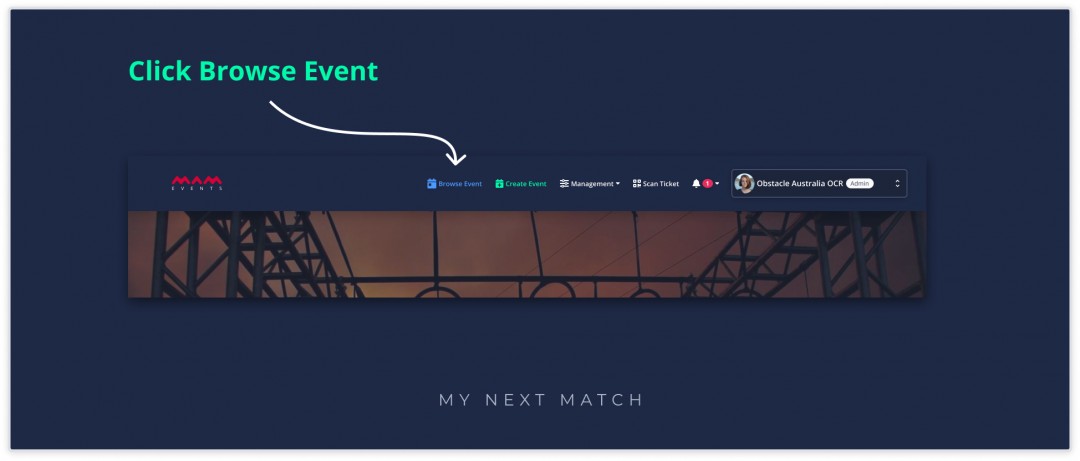
3. Click Browse Events.
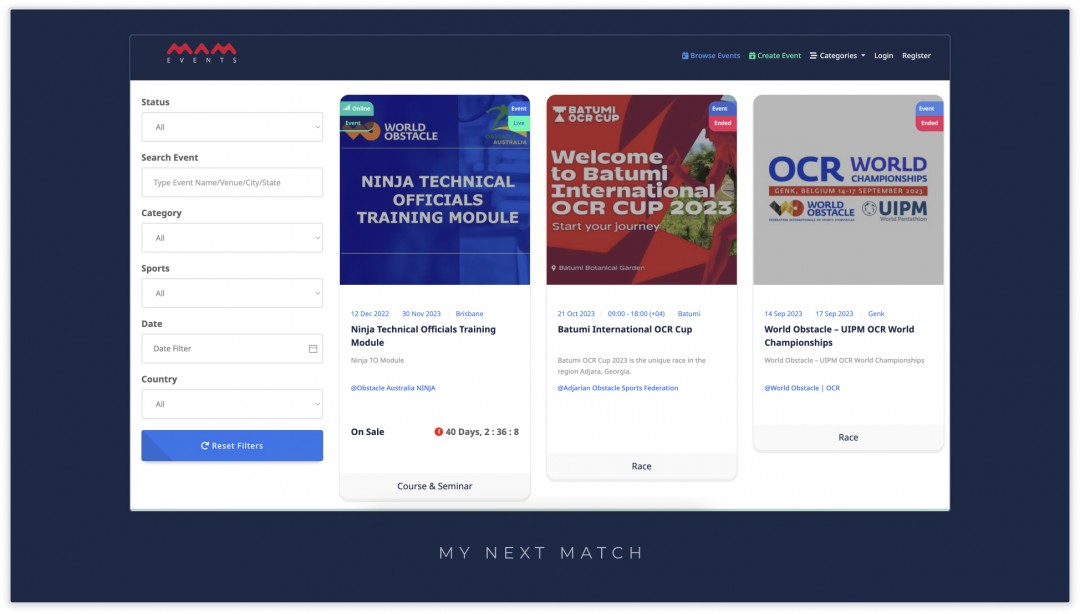
4. Click on the event that you want to apply for and view the event detail page. You can apply filters to find suitable events.
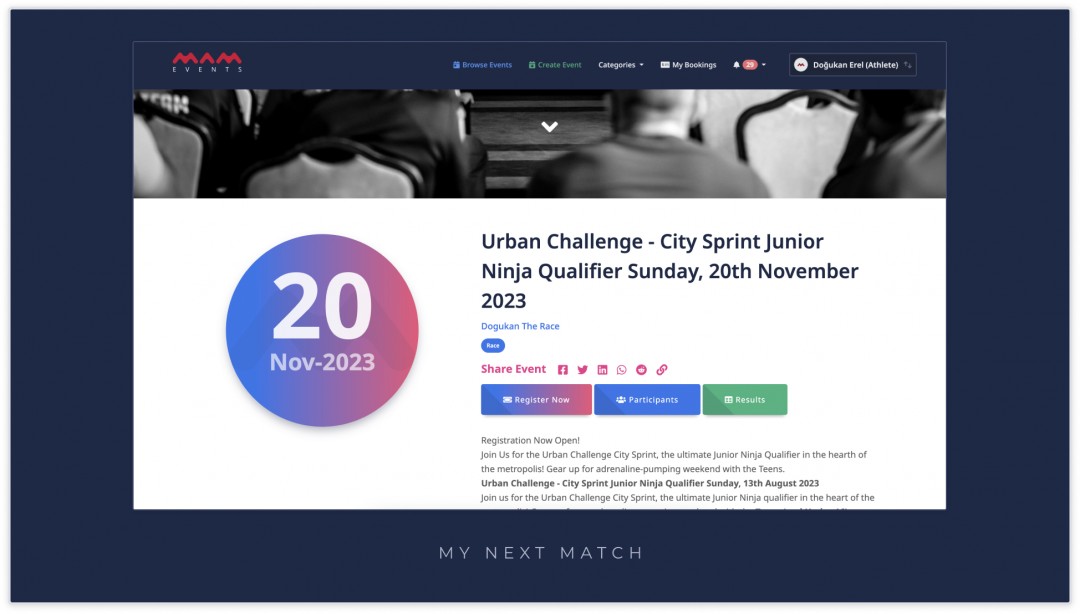
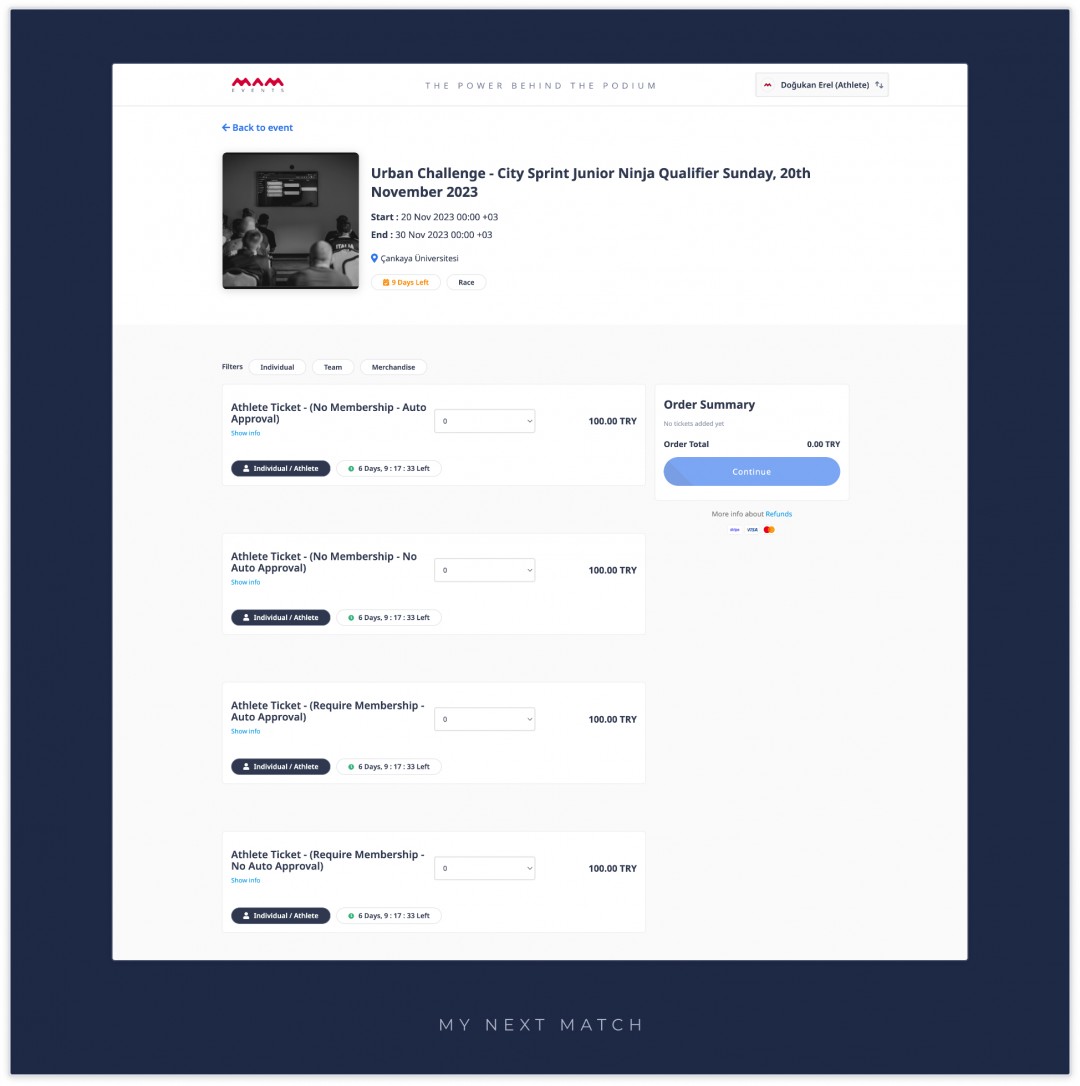
5. Click on Register Now and view tickets on sale.
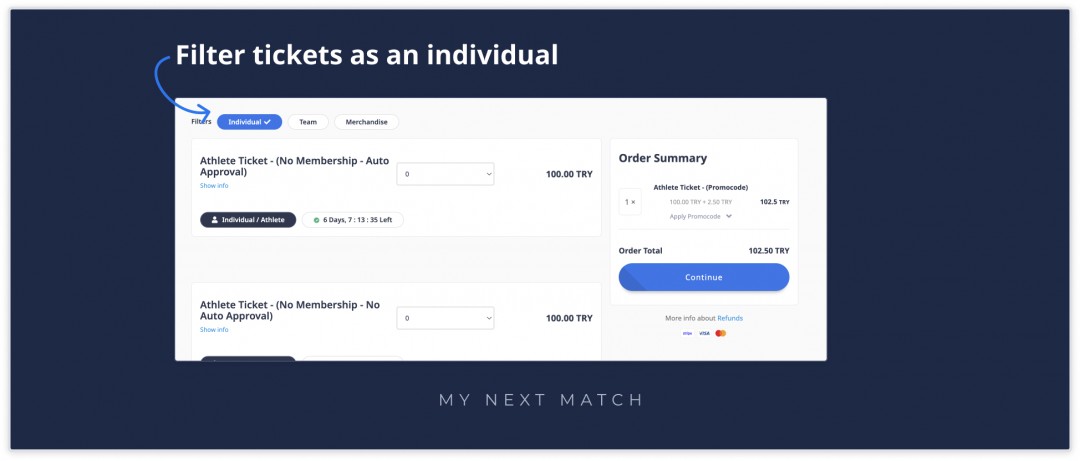
6. On this page, you can see the open tickets for the event, filter them by role (individual, team, merchandise), and select the number of tickets you want to buy from different tickets.
6. 1. Filter by individual to see the tickets.
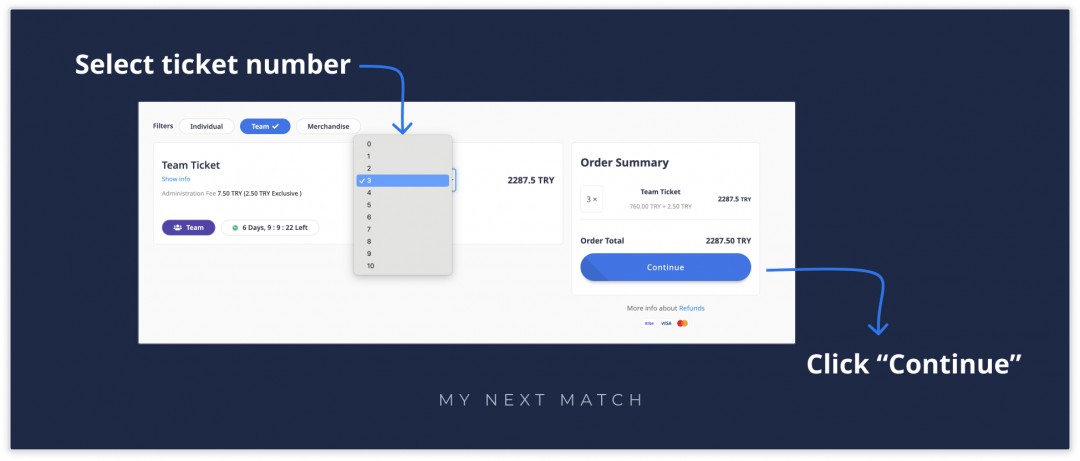
6. 2. Choose how many tickets you want to buy and click the Continue button.
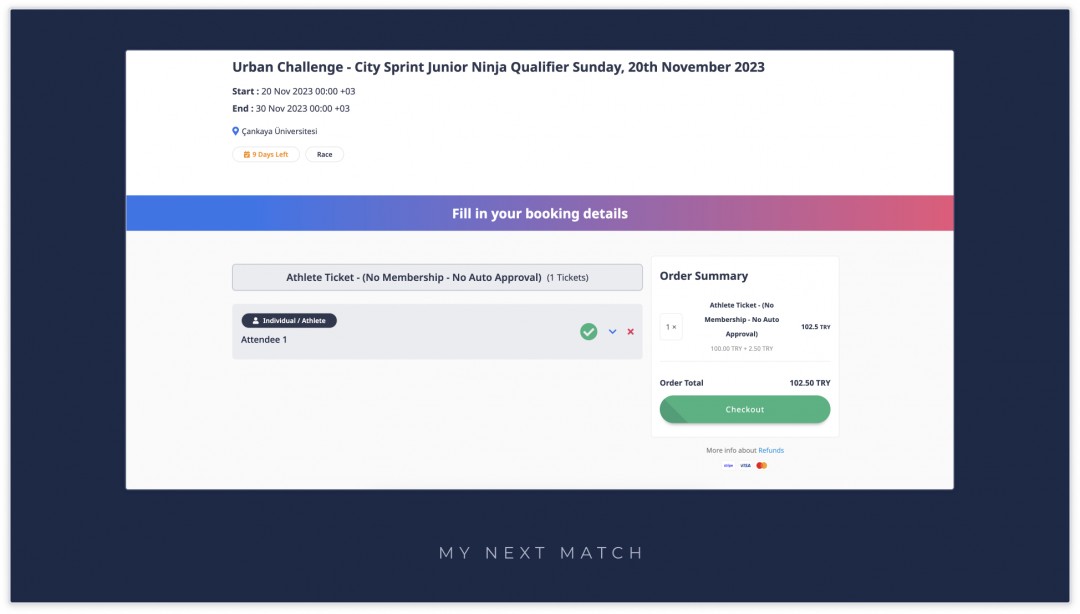
Fill in your Booking Details
This page lists the tickets you want to buy and the tickets you have selected before.
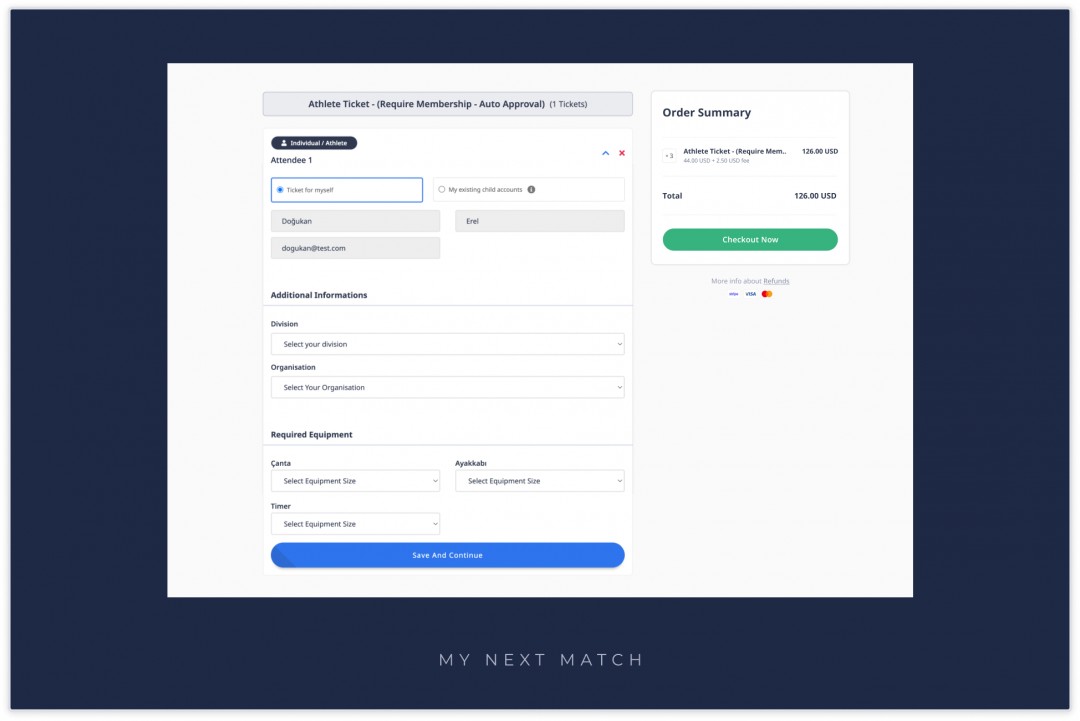
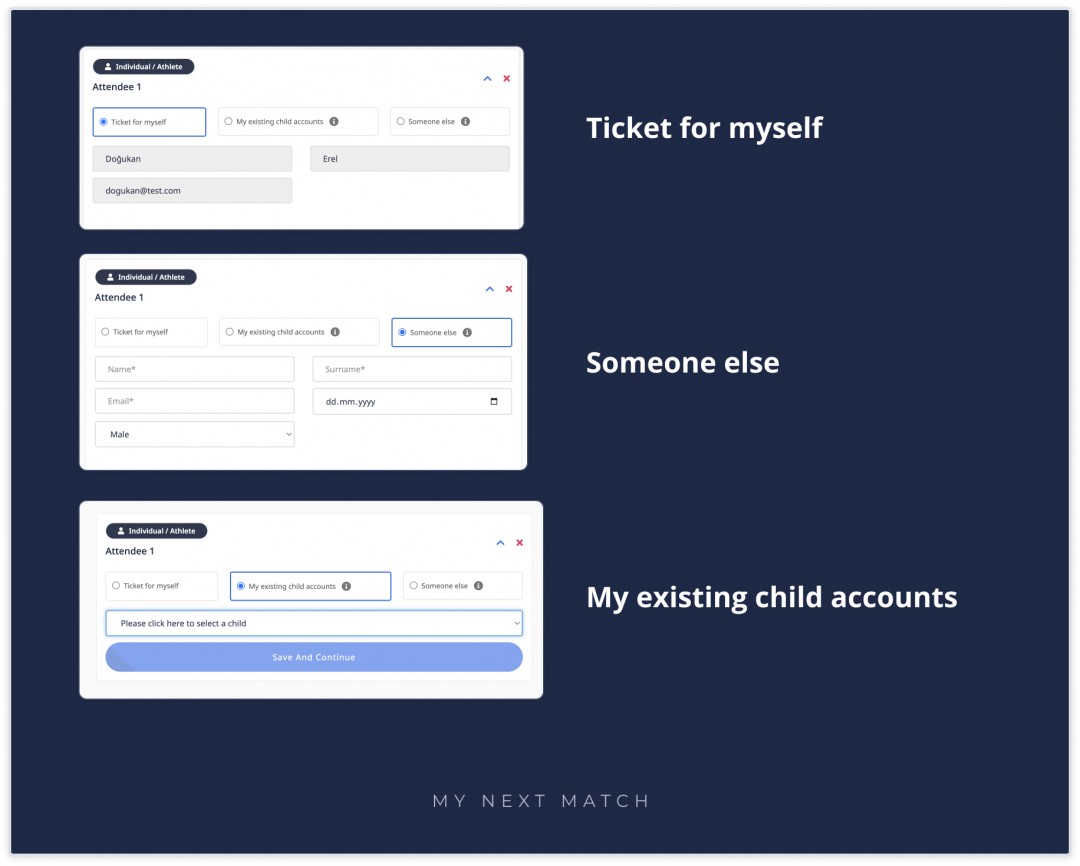
1. Choose the attendee type and provide details: name, surname, gender, and date of birth.
- Ticket for myself
- Someone else
- My existing child account
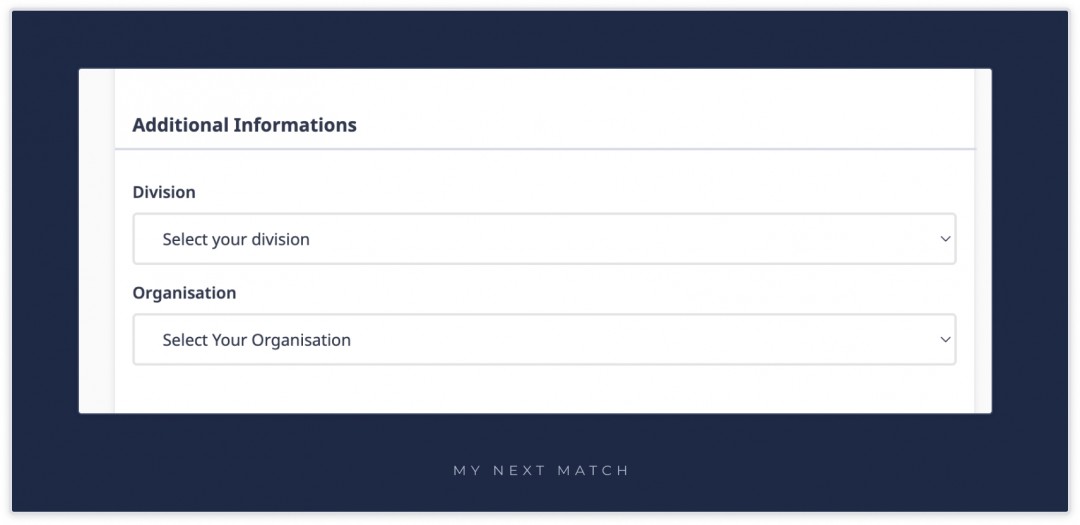
2. Then, if the event requires additional info, you will see sections below to provide details. If you don't see any additional details, you can skip this step.
Additional info includes different parameters based on the event settings;
- Sport Division (If the event requires it)
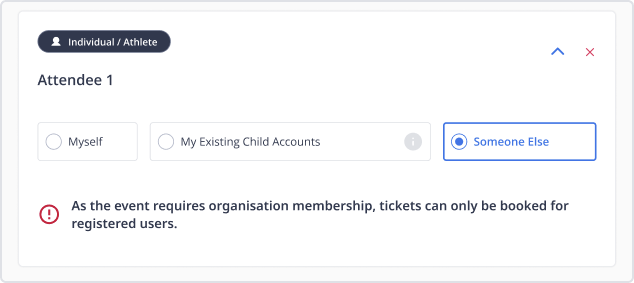
- Organisation Membership (If the event requires a Club, National Federation, or a National Team membership.)
![]() Reminder
Reminder
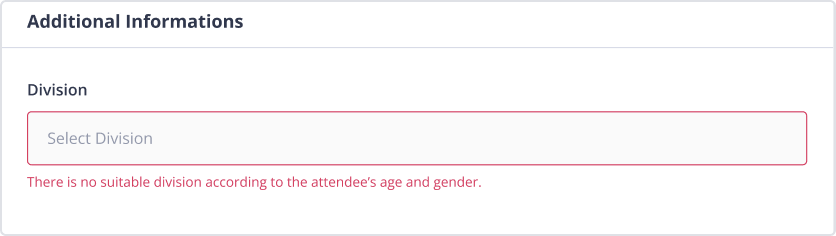
i. If the event has no divisions suitable for the attendee's age or gender, the following warning will appear:

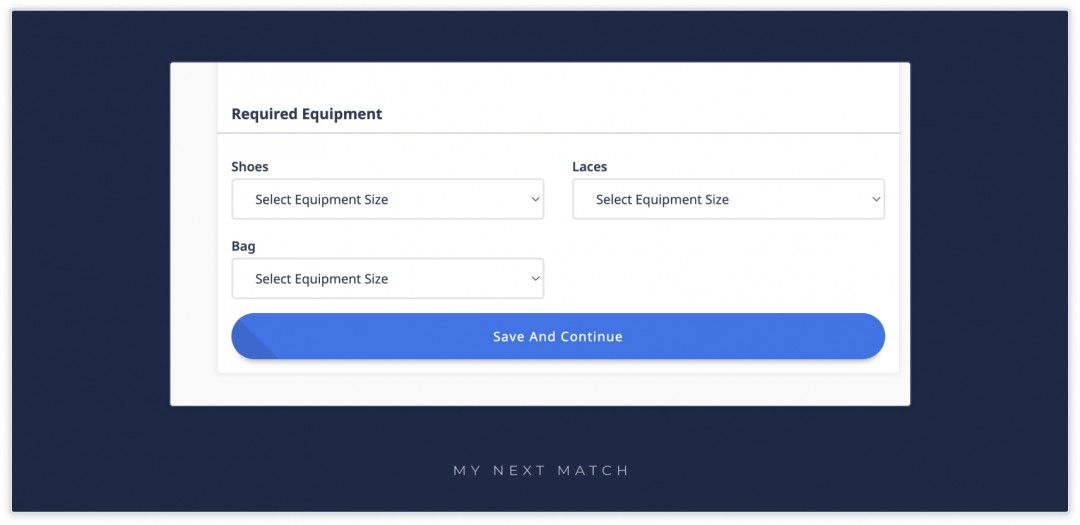
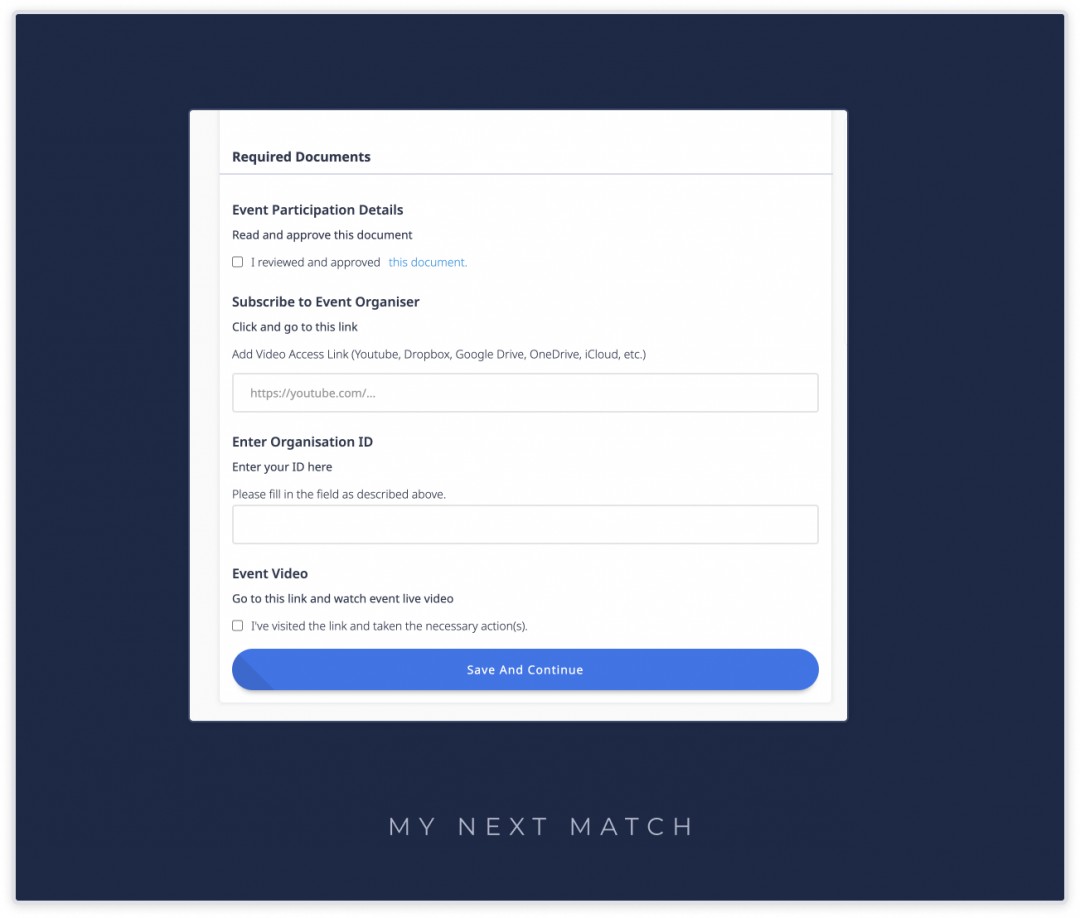
3. If the event organiser requires equipment and document details, the following sections will appear:
- Required Equipment
- Required Documents
4. After filling in the required fields on all tickets, you can click the "Checkout" button and proceed to the payment step. You will be redirected to the payment service (Stripe) to complete the transaction.
5. After the payment transaction is completed, you will be redirected to the booking list and we will send your booking details including the ticket and invoice to you by email.
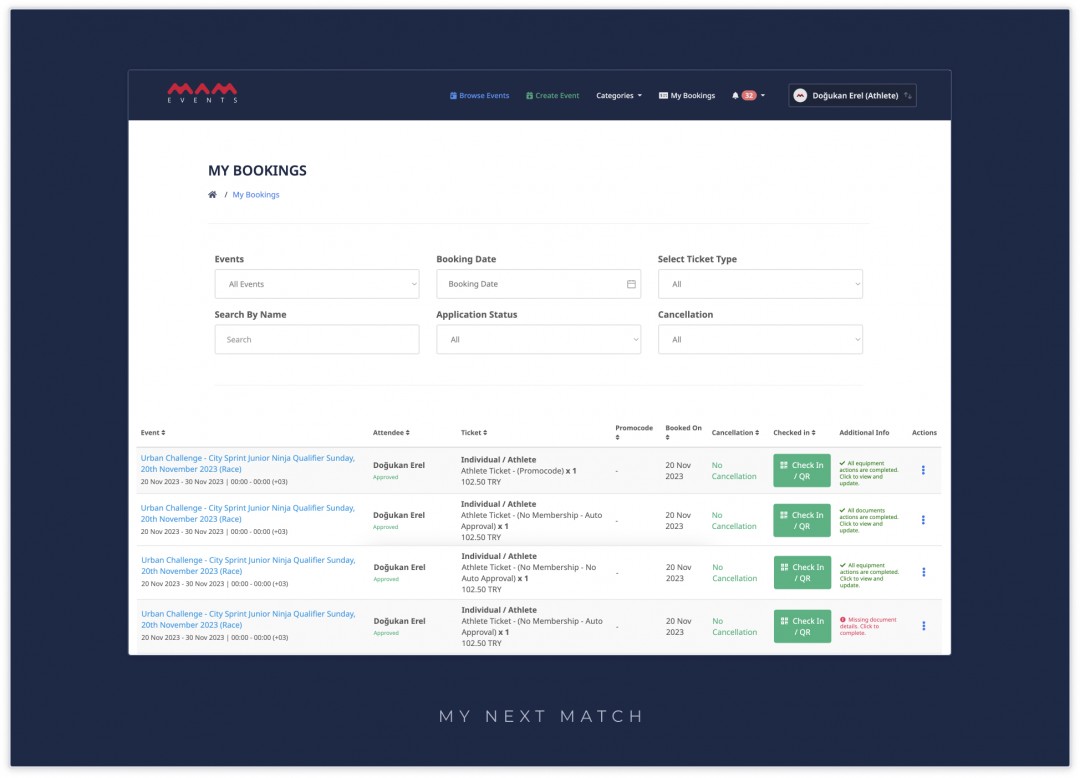
6. You will view an additional info column on the booking page: equipment and documents. (if the federation requires details for the event).
Click for any updates.
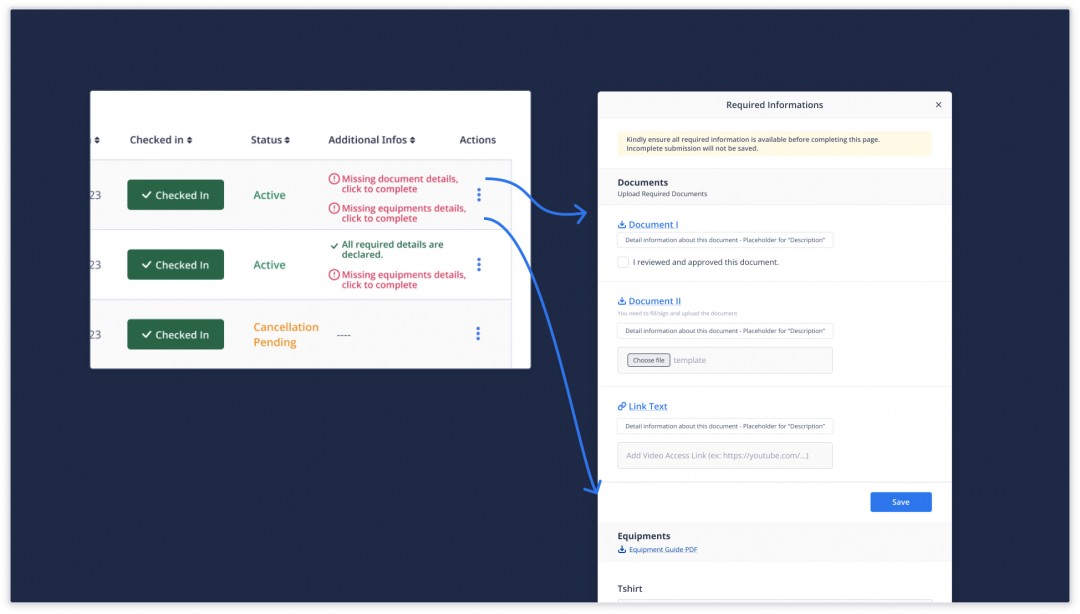
In the required document section, you will view the document name, downloadable link, description and action. There are three types of action.
- Need attendee’s approval (The customer should be able to review/download the template and give approval via a checkbox.)
- Need attendee’s copy (The customer should be able to review/download the template and upload an updated a copy on supported formats.)
- Need attendee’s access link (The customer should be able to review/download the template and enter an access link.)
In the equipment section, you will view the Equipment Size Guide and equipment name. You can select a suitable size for the attendees according to the size guide.
7. Provide details and save each section separately.
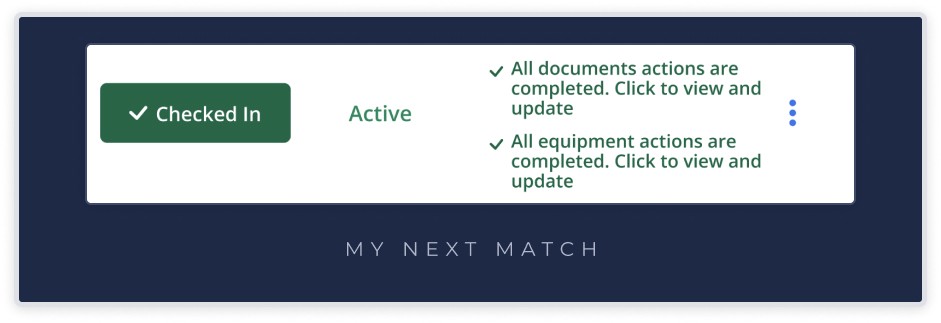
8. If all the details are filled out, you will view the check mark next to them.
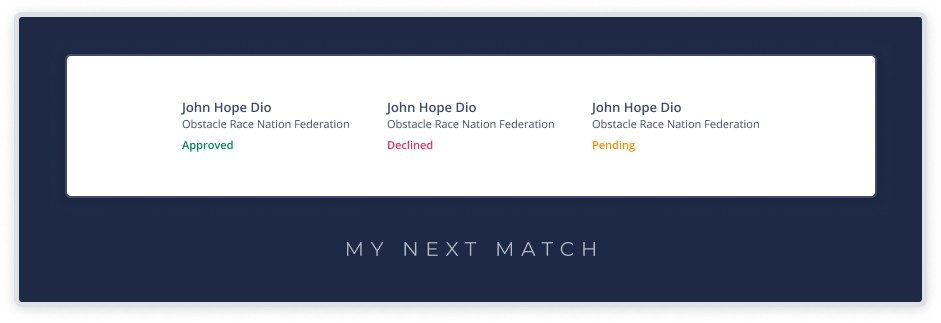
Application Approval
Some event organisers may opt for the application approval process after review. In such a case, you can follow the application approval status as a label on the attendee column on my bookings page.
Congrats, you are ready for the event!